
How To Hook Up A Solar Panel?
As the world increasingly turns to renewable energy sources, solar power has emerged as a popular and viable option for both residential and commercial applications. Whether you're looking to reduce your carbon footprint, lower your electricity bills, or gain energy independence, installing a solar panel system can be a rewarding endeavor. However, the process of hooking up a solar panel can seem daunting to beginners. This guide aims to demystify the process, providing you with a step-by-step approach to successfully install and connect your solar panel system.
Understanding the Basics
Before diving into the installation process, it's crucial to understand the basic components of a solar panel system:
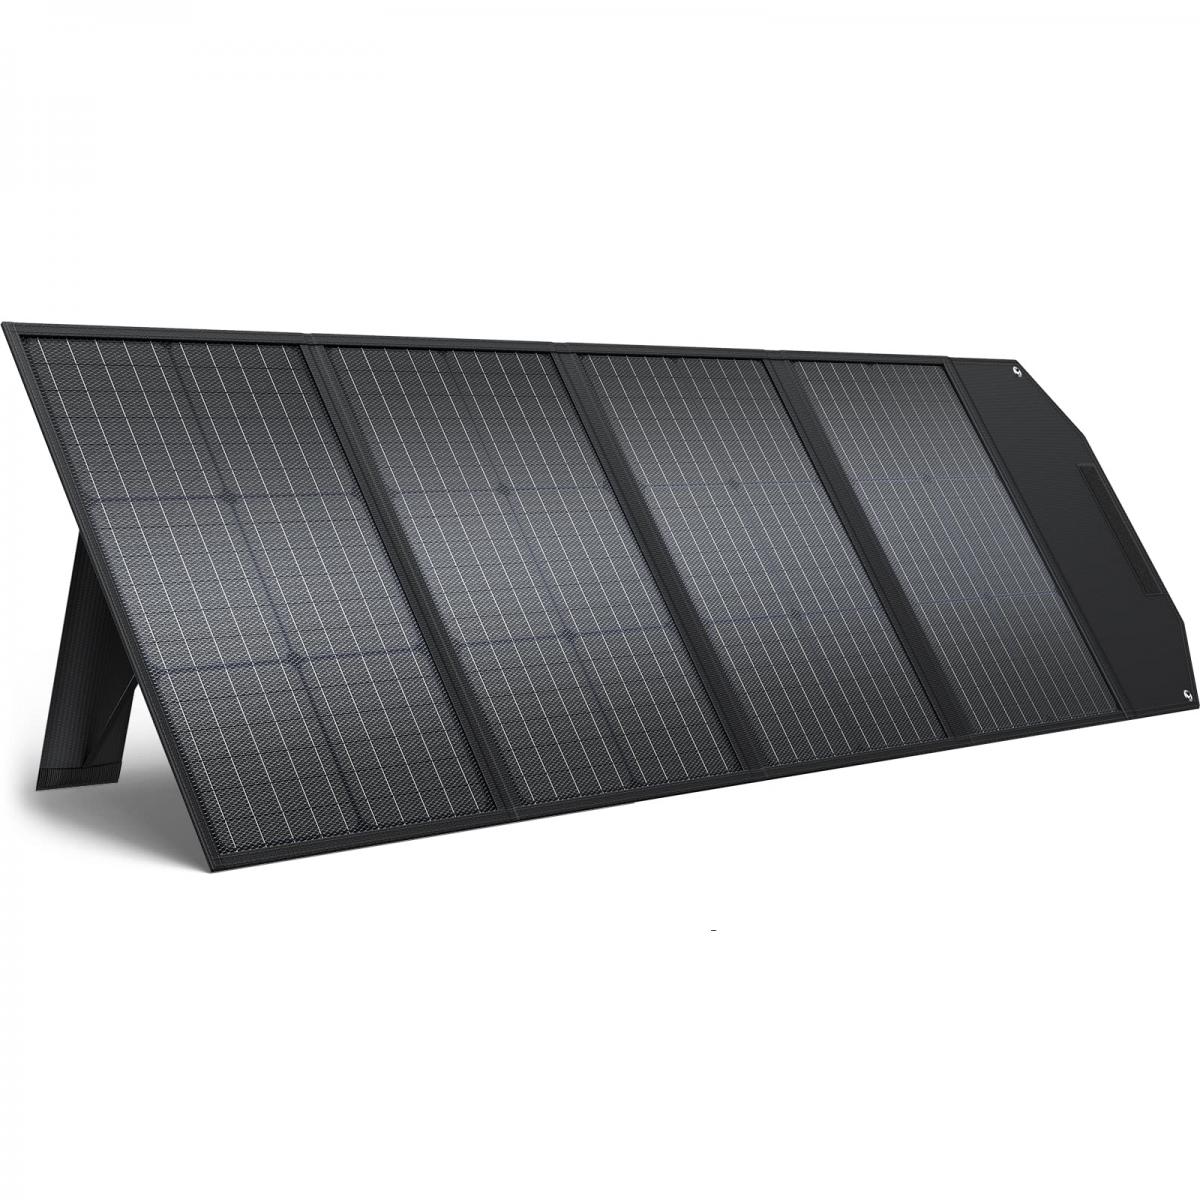
1. Solar Panels: These are the primary components that capture sunlight and convert it into electricity.
2. Charge Controller: This device regulates the voltage and current coming from the solar panels to the battery.
3. Battery: Stores the electricity generated by the solar panels for later use.
4. Inverter: Converts the stored DC (direct current) electricity from the battery into AC (alternating current) electricity, which is used by most household appliances.
5. Mounting System: Hardware used to secure the solar panels to your roof or another structure.
6. Wiring and Connectors: Essential for connecting all the components together.
Step-by-Step Installation Guide
Step 1: Site Assessment and Planning
The first step in hooking up a solar panel is to assess your site and plan the installation. Consider the following:
- Sunlight Exposure: Ensure that the location receives ample sunlight throughout the day. South-facing roofs are generally ideal in the Northern Hemisphere.
- Roof Condition: Check the structural integrity of your roof. It should be strong enough to support the weight of the solar panels.
- Shading: Avoid areas with significant shading from trees, buildings, or other obstructions.
Step 2: Gather Necessary Tools and Equipment
Before starting the installation, gather all the necessary tools and equipment. This typically includes:
- Solar panels
- Charge controller
- Battery
- Inverter
- Mounting hardware
- Wiring and connectors
- Drill and drill bits
- Screwdrivers
- Wrenches
- Multimeter
Step 3: Install the Mounting System
The mounting system is crucial for securing your solar panels. Follow these steps:
1. Mark the Installation Area: Use a chalk line to mark where the mounting brackets will be placed.
2. Drill Holes: Drill holes into the roof or structure where the brackets will be attached.
3. Attach the Brackets: Secure the mounting brackets using screws and a wrench.
4. Install the Rails: Attach the rails to the mounting brackets. These rails will hold the solar panels.
Step 4: Mount the Solar Panels
Once the mounting system is in place, you can mount the solar panels:
1. Position the Panels: Place the solar panels on the rails.
2. Secure the Panels: Use clamps or brackets to secure the panels to the rails.
3. Check Alignment: Ensure that the panels are aligned correctly and securely fastened.
Step 5: Wiring the System
Proper wiring is essential for the efficient operation of your solar panel system. Follow these steps:
1. Connect the Panels: Use MC4 connectors to connect the solar panels in series or parallel, depending on your system design.
2. Run the Wires: Route the wires from the solar panels to the charge controller.
3. Connect to Charge Controller: Connect the positive and negative wires from the solar panels to the corresponding terminals on the charge controller.
4. Connect the Battery: Attach the battery to the charge controller, ensuring correct polarity.
5. Connect the Inverter: Finally, connect the inverter to the battery. The inverter will convert the DC electricity stored in the battery to AC electricity for household use.
Step 6: Testing and Commissioning
After completing the wiring, it's essential to test the system to ensure everything is working correctly:
1. Check Connections: Double-check all connections to ensure they are secure and correctly wired.
2. Test Voltage: Use a multimeter to test the voltage output from the solar panels, charge controller, and battery.
3. Power On: Turn on the charge controller and inverter. Check if the system is generating and storing electricity as expected.
4. Monitor Performance: Monitor the system for a few days to ensure it operates efficiently and without issues.
Troubleshooting Common Issues
Even with careful planning and installation, you may encounter some issues. Here are common problems and their solutions:
- Low Power Output: Check for shading, dirty panels, or incorrect wiring.
- Battery Not Charging: Ensure the charge controller is functioning correctly and the battery connections are secure.
- Inverter Not Working: Verify that the inverter is properly connected and receiving power from the battery.
Maintenance Tips
To ensure the longevity and efficiency of your solar panel system, regular maintenance is essential:
- Clean the Panels: Dust and debris can reduce the efficiency of your solar panels. Clean them periodically with water and a soft brush.
- Inspect Connections: Regularly check all electrical connections for signs of wear or corrosion.
- Monitor Performance: Use a monitoring system to keep track of your system's performance and identify any issues early.
Hooking up a solar panel system may seem complex, but with careful planning and attention to detail, it can be a manageable DIY project. By following this comprehensive guide, you can successfully install and connect your solar panel system, paving the way for a more sustainable and cost-effective energy solution. Remember, safety is paramount, so if you're unsure about any step, consult a professional. With your solar panel system up and running, you'll be well on your way to harnessing the power of the sun and enjoying the numerous benefits of renewable energy.
There are no comments for this blog.