
 Filter 2 in 1 Nano-Xcel Series - No")
 and CPL Filter 2 in 1 for Camera Filter Lens Nano-Klear Series")
How To Format Write Protected Sd Card?
Formatting a write-protected SD card can be a challenging task, especially for those who are not familiar with the intricacies of data storage devices. Write protection is a feature that prevents data from being modified or deleted, which can be useful for safeguarding important information. However, it can also be a hindrance when you need to format the card for new use. In this article, we will explore various methods to format a write-protected SD card, addressing common issues and providing practical solutions.
Understanding Write Protection
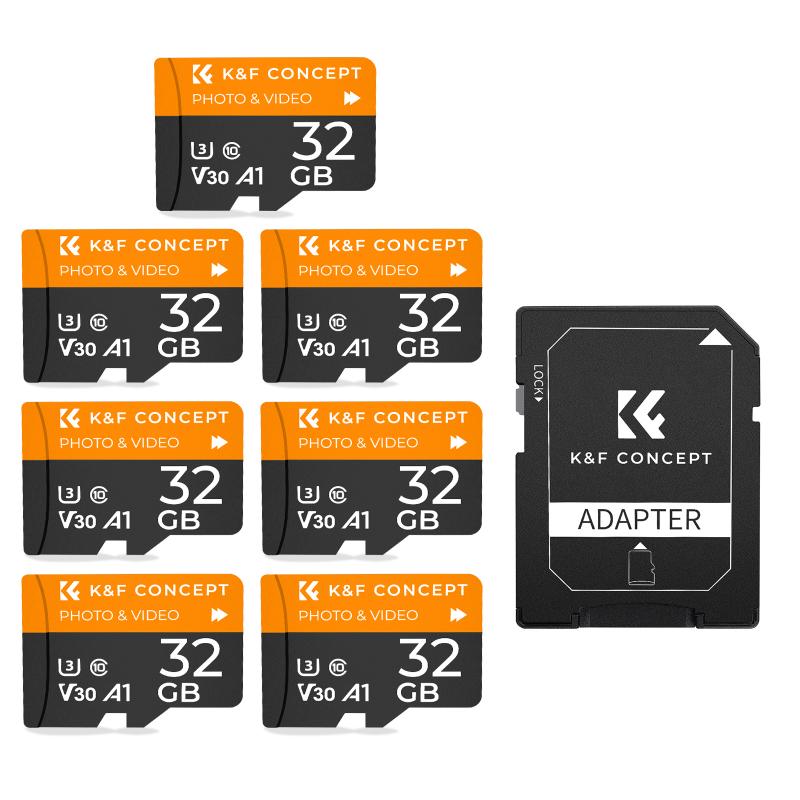
Before diving into the methods to format a write-protected SD card, it is essential to understand what write protection is and why it exists. Write protection can be enabled through a physical switch on the SD card or through software settings. The physical switch is usually a small tab located on the side of the SD card. When this switch is in the "Lock" position, the card becomes write-protected, preventing any data from being written or deleted.
Software-based write protection can be more complex, as it involves settings within the operating system or specific software applications. This type of write protection can be enabled for various reasons, such as preventing accidental data loss or protecting sensitive information.
Methods to Format a Write-Protected SD Card

1. Check the Physical Lock Switch
The first and simplest method to format a write-protected SD card is to check the physical lock switch. Follow these steps:
1. Remove the SD card from your device.
2. Locate the small switch on the side of the SD card.
3. Ensure that the switch is in the "Unlock" position.
4. Reinsert the SD card into your device and attempt to format it.
If the switch was in the "Lock" position, moving it to "Unlock" should resolve the write protection issue, allowing you to format the card.
2. Use Diskpart Utility (Windows)
If the physical switch is not the issue, you can use the Diskpart utility in Windows to remove write protection and format the SD card. Here are the steps:
1. Insert the SD card into your computer.
2. Press `Win + R` to open the Run dialog box.
3. Type `diskpart` and press Enter. This will open the Diskpart utility.
4. In the Diskpart window, type `list disk` and press Enter. This will display a list of all connected disks.
5. Identify your SD card from the list. It is usually labeled as "Disk 1" or "Disk 2" based on the size.
6. Type `select disk X` (replace X with the number corresponding to your SD card) and press Enter.
7. Type `attributes disk clear readonly` and press Enter. This command will remove the write protection.
8. Type `clean` and press Enter. This will erase all data on the SD card.
9. Type `create partition primary` and press Enter. This will create a new partition on the SD card.
10. Type `format fs=fat32` and press Enter. This will format the SD card with the FAT32 file system.
After completing these steps, your SD card should be formatted and free of write protection.
3. Use Disk Utility (Mac)
For Mac users, the Disk Utility application can be used to format a write-protected SD card. Follow these steps:
1. Insert the SD card into your Mac.
2. Open the Disk Utility application. You can find it in the Applications > Utilities folder.
3. In the Disk Utility window, select your SD card from the list of drives on the left.
4. Click on the "Erase" tab.
5. In the "Format" dropdown menu, select the desired file system (e.g., MS-DOS (FAT) for FAT32).
6. Click the "Erase" button to format the SD card.
If the SD card is still write-protected, you may need to use Terminal to remove the write protection. Here are the steps:
1. Open Terminal. You can find it in the Applications > Utilities folder.
2. Type `diskutil list` and press Enter. This will display a list of all connected disks.
3. Identify your SD card from the list.
4. Type `sudo diskutil unmountDisk /dev/diskX` (replace X with the number corresponding to your SD card) and press Enter.
5. Type `sudo diskutil eraseDisk FAT32 NAME MBRFormat /dev/diskX` (replace NAME with the desired name for your SD card and X with the disk number) and press Enter.
This should remove the write protection and format the SD card.
4. Use Third-Party Software
If the above methods do not work, you can use third-party software to format a write-protected SD card. Some popular options include:
- SD Card Formatter: Developed by the SD Association, this tool is specifically designed for formatting SD cards. It can be downloaded from the SD Association's website.
- EaseUS Partition Master: This software offers a range of disk management tools, including the ability to format write-protected SD cards.
- MiniTool Partition Wizard: Another powerful disk management tool that can help you format write-protected SD cards.
Download and install the software of your choice, then follow the on-screen instructions to format your SD card.
Preventing Write Protection Issues
To avoid encountering write protection issues in the future, consider the following tips:
- Handle with Care: Always handle your SD card with care to avoid damaging the physical lock switch.
- Regular Backups: Regularly back up important data to prevent data loss in case of write protection or other issues.
- Use Reliable Devices: Use reliable devices and card readers to minimize the risk of write protection problems.
Formatting a write-protected SD card can be a daunting task, but with the right methods and tools, it is entirely possible. By checking the physical lock switch, using built-in utilities like Diskpart and Disk Utility, or employing third-party software, you can successfully format your write-protected SD card. Remember to handle your SD card with care and regularly back up your data to prevent future issues. With these tips and techniques, you can ensure that your SD card remains functional and ready for use.


, 2 NANO SIM, 2 Micro SIM, 1 SIM")

![4K digital camera for photography and video [autofocus and stabilisation] 48 MP video blog camera with SD card, 3](https://img.kentfaith.com/cache/catalog/products/us/GW41.0065/GW41.0065-1-200x200.jpg "4K digital camera for photography and video [autofocus and stabilisation] 48 MP video blog camera with SD card, 3")

 Lens Filter Kit - 18-Layer Coated Optical Glass with Pouch & Cleaning Cloth - Nano-Klear Series")
 2-in-1 Filter Nano-Xcel Series - 28 Layers of Anti-reflection Green Film, Two Orange Levers, Imported White Cloth")
 and CPL Circular Polarizing Lens Filter 2 in 1 for Camera Lens Neutral Density Polarizer Filter Nano-X Series")


")


