How To Make Noise Cancelling Headphones?
Noise-cancelling headphones have become an essential gadget for many people, whether for travel, work, or simply enjoying music without the distraction of external noise. The technology behind these headphones is fascinating and involves a combination of hardware and software engineering. In this article, we will delve into the process of making noise-cancelling headphones, covering the key components, the technology involved, and practical tips for those interested in creating their own.
Understanding Noise Cancellation Technology

Before diving into the construction process, it’s crucial to understand how noise cancellation works. There are two primary types of noise cancellation: passive and active.
1. Passive Noise Cancellation: This involves using materials and design to block out external sounds. Over-ear headphones with thick padding are a common example. The physical barrier created by the ear cups helps to reduce ambient noise.
2. Active Noise Cancellation (ANC): This is a more advanced method that uses electronic circuitry to cancel out noise. Microphones on the headphones pick up external sounds, and the headphones generate sound waves that are the exact opposite (anti-phase) of the unwanted noise. When these sound waves meet, they cancel each other out, effectively reducing the noise.
Key Components of Noise-Cancelling Headphones

To build noise-cancelling headphones, you will need several key components:
1. Microphones: These are used to detect external noise. Typically, noise-cancelling headphones have multiple microphones placed both inside and outside the ear cups.
2. Speakers/Drivers: These are responsible for producing the sound you want to hear. High-quality drivers are essential for good sound reproduction.
3. Noise-Cancelling Circuitry: This includes a digital signal processor (DSP) that generates the anti-noise signal. The DSP is the brain of the noise-cancelling operation.
4. Power Source: Active noise cancellation requires power, usually provided by a rechargeable battery.
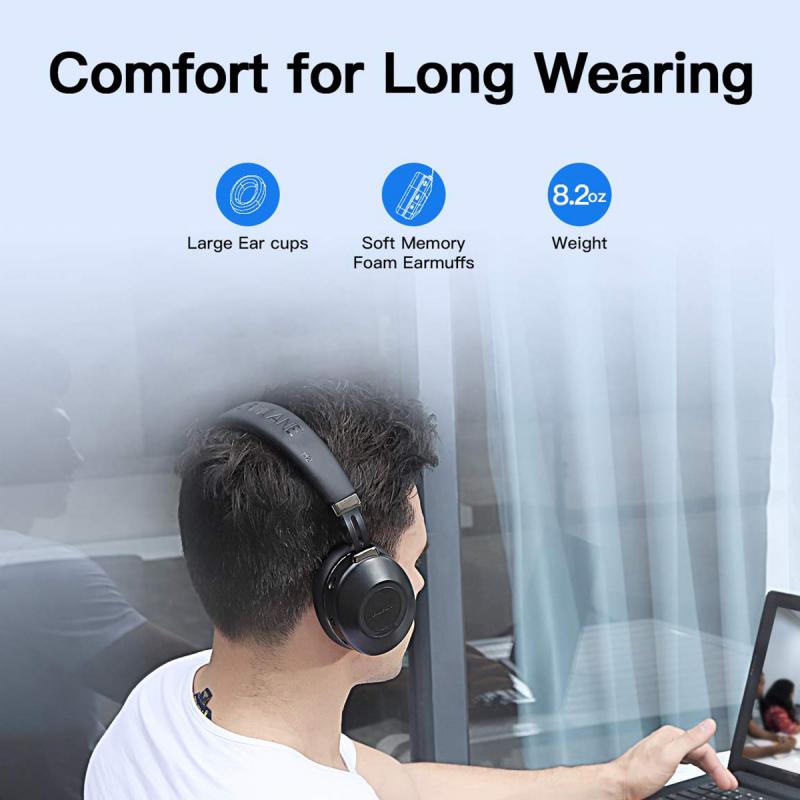
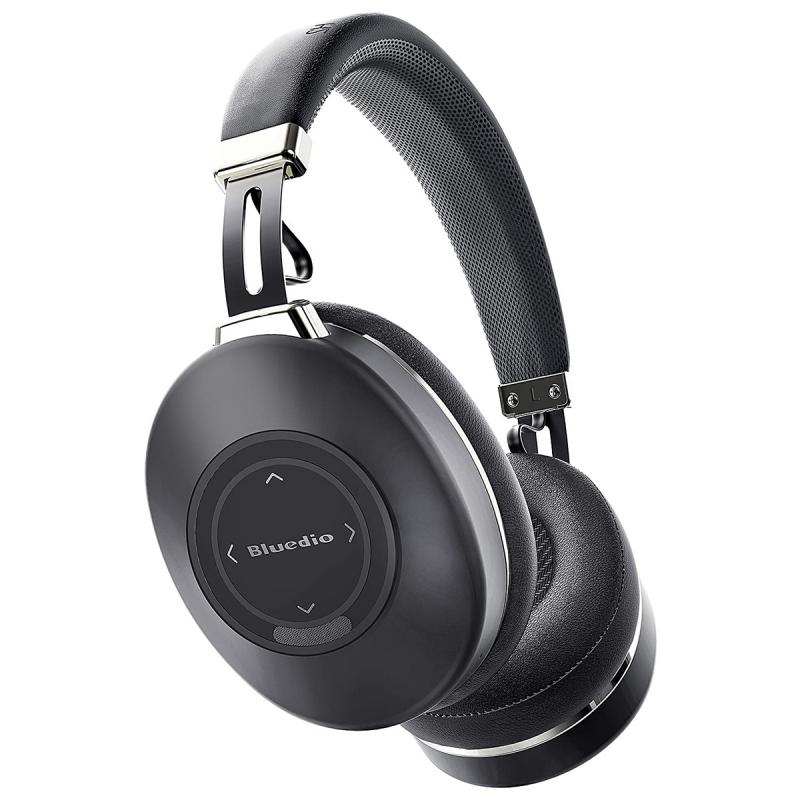
5. Ear Cups and Padding: These provide passive noise cancellation and comfort. The design and materials used here are crucial for both noise isolation and user comfort.
6. Headband and Frame: These components hold the headphones together and ensure a comfortable fit.
Step-by-Step Guide to Making Noise-Cancelling Headphones

Step 1: Design and Planning

Start by sketching a design for your headphones. Consider the shape, size, and materials you will use. The design should be ergonomic and comfortable for long-term use. Decide on the placement of the microphones and the type of padding for the ear cups.
Step 2: Selecting Components
Choose high-quality components for the best performance. Look for microphones with good sensitivity and a wide frequency range. Select drivers that offer clear and balanced sound. For the noise-cancelling circuitry, you can either design your own or purchase a pre-made module.
Step 3: Building the Ear Cups
Construct the ear cups using materials that provide good passive noise isolation. Memory foam and leather are popular choices for padding. Ensure that the ear cups fit snugly around the ears to block out as much external noise as possible.
Step 4: Installing the Microphones
Place the microphones in strategic locations. Typically, one microphone is placed on the outside of the ear cup to pick up ambient noise, and another is placed inside to monitor the sound reaching the ear. This allows the DSP to accurately generate the anti-noise signal.
Step 5: Assembling the Noise-Cancelling Circuitry
Integrate the DSP and other electronic components into the headphones. Connect the microphones to the DSP, and ensure that the anti-noise signal is correctly routed to the drivers. This step may require some soldering and careful wiring.
Step 6: Power Supply
Install the battery and ensure it is securely connected to the noise-cancelling circuitry. Consider adding a charging port and an indicator light to show the battery status.
Step 7: Testing and Calibration
Once assembled, test the headphones in a noisy environment. Use a sound meter to measure the effectiveness of the noise cancellation. You may need to adjust the DSP settings to optimize performance. Calibration is crucial to ensure that the anti-noise signal accurately cancels out external sounds.
Step 8: Final Assembly and Finishing Touches
Assemble all the components into the headband and frame. Ensure that all parts are securely attached and that the headphones are comfortable to wear. Add any finishing touches, such as branding or additional padding.
Practical Tips for DIY Noise-Cancelling Headphones
1. Start Simple: If you’re new to electronics, consider starting with a basic noise-cancelling module before attempting to design your own circuitry.
2. Quality Matters: Invest in high-quality components. Cheap microphones or drivers can significantly impact the performance of your headphones.
3. Comfort is Key: Don’t overlook the importance of comfort. Uncomfortable headphones will not be used, no matter how good they sound.
4. Testing is Crucial: Thoroughly test your headphones in various environments. Real-world testing will help you identify and fix any issues with the noise cancellation.
5. Iterate and Improve: Your first attempt may not be perfect. Use feedback and testing results to make improvements in your design.
Making noise-cancelling headphones is a challenging but rewarding project. It requires a good understanding of both electronics and acoustics, as well as careful planning and execution. By following the steps outlined in this article and paying attention to the details, you can create a pair of headphones that effectively reduce unwanted noise and provide a high-quality listening experience. Whether you’re a hobbyist looking for a new project or an aspiring audio engineer, building your own noise-cancelling headphones is a great way to deepen your understanding of audio technology and create something truly unique.

There are no comments for this blog.