
How To Record Audio On Ipad?
Recording audio on an iPad can be a straightforward process, but it can also be tailored to meet various needs, from simple voice memos to professional-quality recordings. Whether you're a student, a journalist, a musician, or just someone who needs to capture audio for personal use, the iPad offers a range of tools and applications to get the job done. In this article, we will explore different methods and applications for recording audio on an iPad, providing you with a comprehensive guide to suit your specific needs.
Built-in Tools for Audio Recording
Voice Memos App
The Voice Memos app is the simplest and most accessible tool for recording audio on an iPad. It comes pre-installed on all iPads and is perfect for quick and easy recordings.
How to Use Voice Memos:
1. Open the Voice Memos app.
2. Tap the red record button to start recording.
3. Tap the stop button to end the recording.
4. You can rename, edit, and share your recordings directly from the app.
Voice Memos is ideal for capturing lectures, interviews, and personal notes. It offers basic editing features like trimming and replacing parts of the recording, making it a versatile tool for everyday use.
Advanced Recording Apps
For those who need more advanced features, there are several third-party apps available on the App Store that offer enhanced functionality.
GarageBand
GarageBand is a powerful app for musicians and podcasters. It provides a full suite of recording and editing tools, allowing you to create professional-quality audio.
How to Use GarageBand:
1. Open GarageBand and create a new project.
2. Select the "Audio Recorder" option.
3. Tap the red record button to start recording.
4. Use the editing tools to cut, copy, and paste sections of your recording.
5. Add effects and adjust levels to enhance your audio.
GarageBand supports multi-track recording, so you can layer different audio tracks and add instruments or vocals. It's a comprehensive tool for anyone looking to produce high-quality audio content.
Ferrite Recording Studio
Ferrite Recording Studio is another excellent app for more advanced audio recording and editing. It is particularly popular among podcasters and journalists.
How to Use Ferrite Recording Studio:
1. Open Ferrite and create a new project.
2. Tap the record button to start recording.
3. Use the editing tools to trim, split, and arrange your audio clips.
4. Add effects and adjust levels to improve the sound quality.
5. Export your finished recording in various formats.
Ferrite offers a user-friendly interface with powerful features like noise reduction, dynamic compression, and multi-track editing. It's a great choice for anyone who needs a robust audio recording solution.
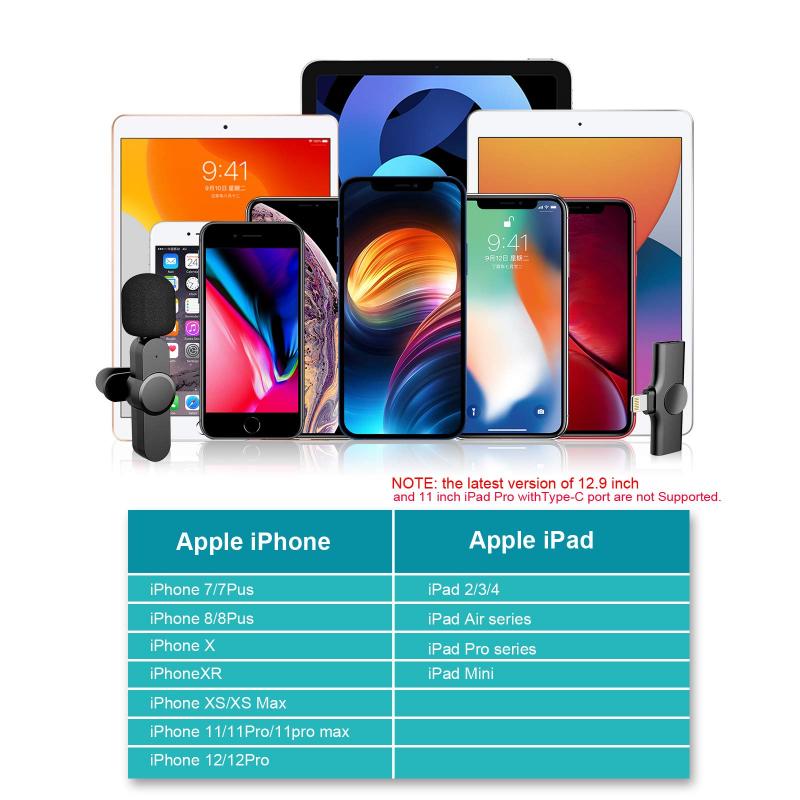
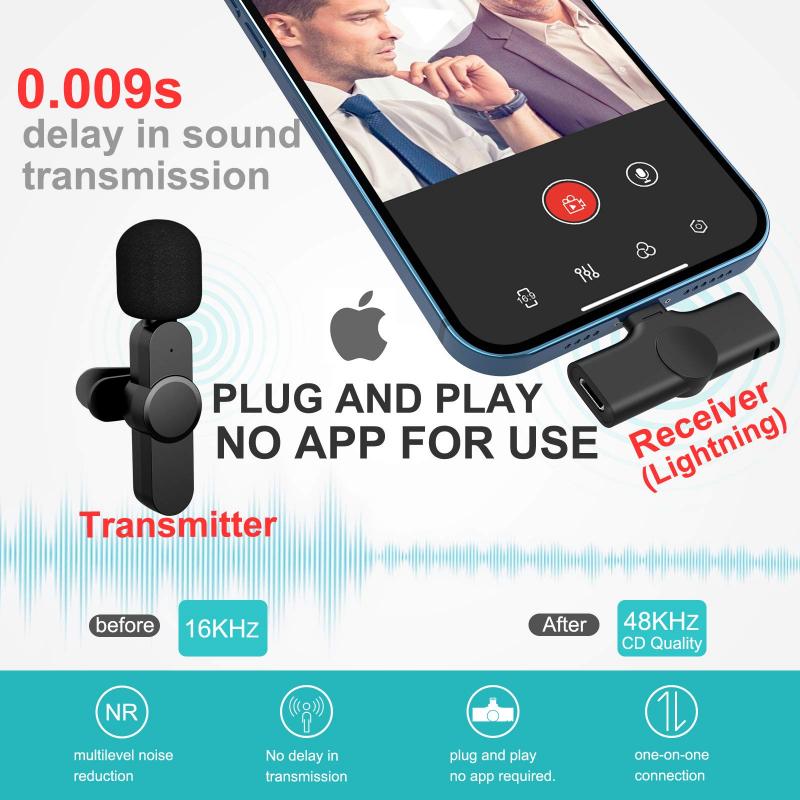
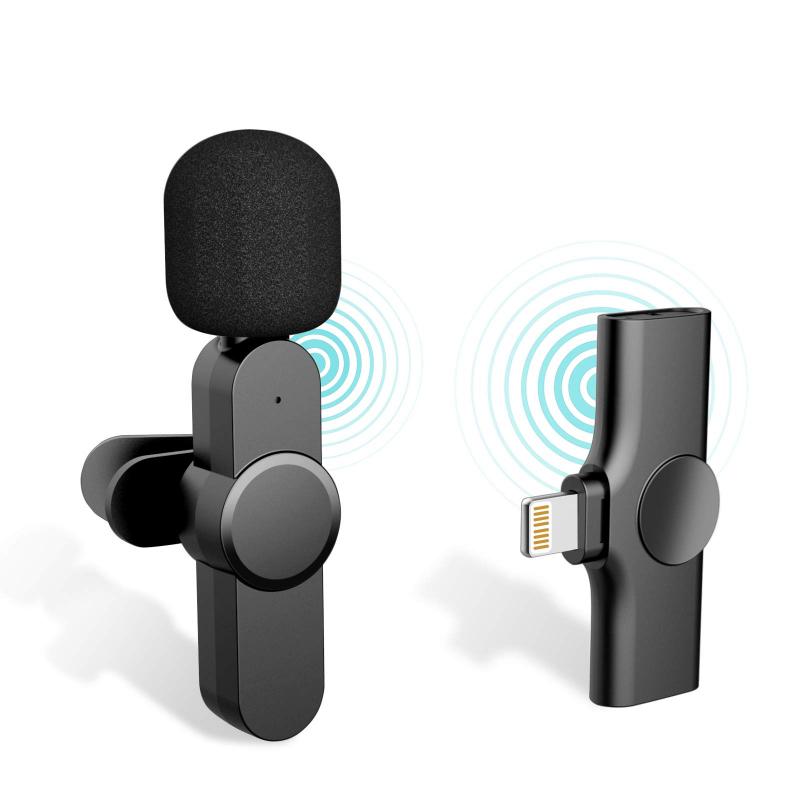
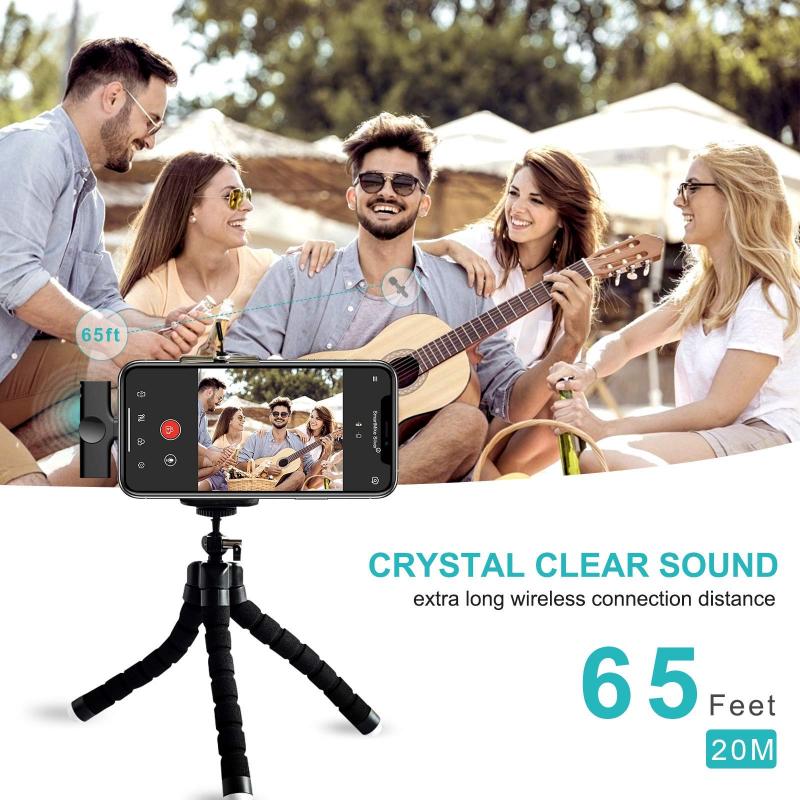
External Microphones
While the built-in microphone on the iPad is sufficient for basic recordings, using an external microphone can significantly improve the audio quality. There are several types of external microphones compatible with the iPad, including USB microphones, Lightning microphones, and wireless microphones.
Popular External Microphones:
- Blue Yeti: A versatile USB microphone known for its excellent sound quality.
- Shure MV88: A compact Lightning microphone designed specifically for iOS devices.
- Rode Wireless GO: A wireless microphone system that offers great flexibility and mobility.
To use an external microphone, simply connect it to your iPad using the appropriate adapter or cable. Most recording apps will automatically detect the external microphone and use it for recording.
Tips for High-Quality Recordings
Regardless of the tools and apps you use, there are several best practices to ensure high-quality audio recordings on your iPad.
1. Choose a Quiet Environment: Background noise can significantly affect the quality of your recording. Try to find a quiet space and minimize any potential sources of noise.
2. Use a Pop Filter: If you're recording vocals, a pop filter can help reduce plosive sounds (like "p" and "b" sounds) that can distort the audio.
3. Monitor Your Levels: Keep an eye on the recording levels to avoid clipping, which occurs when the audio signal is too strong and causes distortion.
4. Use a Stand or Mount: Holding the iPad or microphone can introduce handling noise. Use a stand or mount to keep the device steady during recording.
5. Test Your Setup: Before starting your main recording, do a quick test to ensure everything is working correctly and the audio quality is satisfactory.
Editing and Sharing Your Recordings
Once you've recorded your audio, you may need to edit and share it. Most recording apps offer basic editing tools, but you can also use dedicated audio editing software for more advanced tasks.
Editing Tools:
- Audacity: A free, open-source audio editor available for Mac and PC. It offers a wide range of editing features and supports various audio formats.
- Adobe Audition: A professional-grade audio editing software with advanced features like spectral editing and noise reduction.
After editing your recording, you can share it directly from your iPad. Most apps allow you to export your audio in different formats (such as MP3, WAV, or AAC) and share it via email, cloud storage, or social media.
Recording audio on an iPad is a versatile and accessible process, thanks to the range of built-in tools and third-party apps available. Whether you need a simple voice memo or a professional-quality recording, the iPad can meet your needs. By following the tips and best practices outlined in this article, you can ensure high-quality recordings every time. So, grab your iPad, choose the right tools for your needs, and start capturing the sounds that matter to you.
There are no comments for this blog.