
How Do You Record Audio On Your Computer?
Recording audio on your computer can be a straightforward process, but it requires understanding the tools and techniques available to achieve the best results. Whether you're a podcaster, musician, or someone who needs to record voice memos, knowing how to effectively capture audio can make a significant difference in the quality of your recordings. This article will guide you through the essential steps and considerations for recording audio on your computer, covering both built-in and external tools, software options, and best practices.
Understanding Your Needs

Before diving into the technical aspects, it's crucial to identify your specific needs. Are you recording a podcast, music, voiceovers, or just simple voice memos? The purpose of your recording will influence the type of equipment and software you should use. For instance, a podcaster might prioritize clarity and ease of editing, while a musician might need multi-track recording capabilities and high-fidelity sound.
Basic Equipment
Built-in Microphone

Most laptops and desktops come with built-in microphones. While these are convenient, they often lack the quality needed for professional recordings. Built-in microphones are generally suitable for basic tasks like voice memos or video calls but fall short for more demanding audio projects.
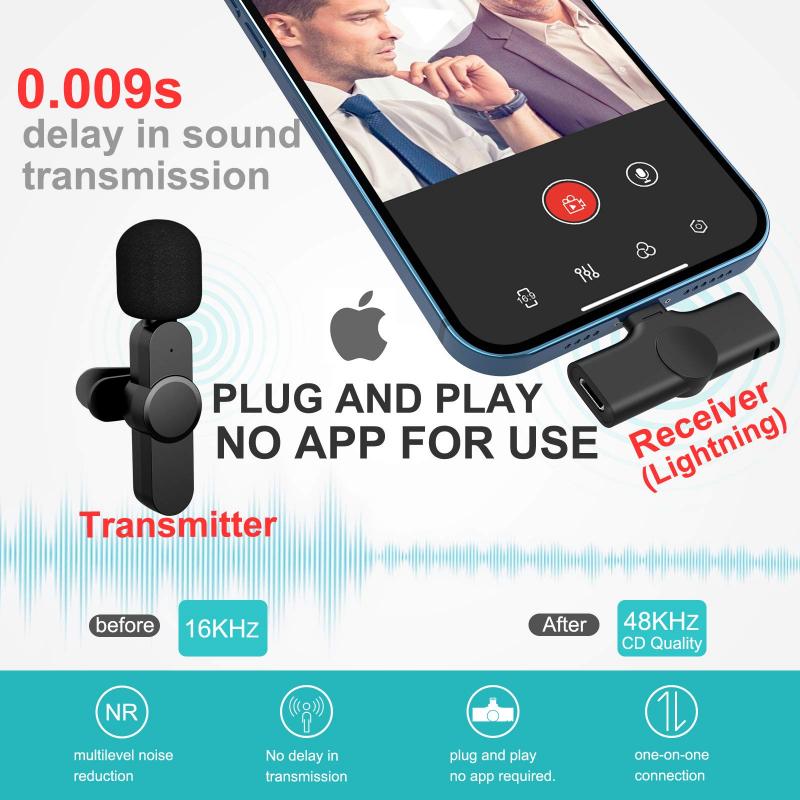
External Microphone
Investing in an external microphone can significantly improve your audio quality. There are various types of external microphones, including USB microphones, which are easy to set up and use, and XLR microphones, which offer higher quality but require an audio interface.
- USB Microphones: These are plug-and-play devices that connect directly to your computer's USB port. They are ideal for beginners and offer a good balance between quality and convenience.
- XLR Microphones: These require an audio interface to connect to your computer. While they are more expensive and complex to set up, they offer superior audio quality and are commonly used in professional settings.
Audio Interface
An audio interface is a device that converts analog signals from your microphone into digital signals that your computer can process. It is essential if you are using an XLR microphone. Audio interfaces also often come with additional features like gain control, phantom power, and multiple input options.
Software Options
The software you choose for recording audio can greatly impact your workflow and the quality of your recordings. Here are some popular options:
Audacity
Audacity is a free, open-source audio recording and editing software. It is user-friendly and offers a wide range of features, making it a popular choice for beginners and professionals alike. With Audacity, you can record live audio, edit recordings, and apply various effects.
GarageBand
GarageBand is a free digital audio workstation (DAW) available on macOS. It is particularly popular among musicians for its virtual instruments and multi-track recording capabilities. GarageBand is also user-friendly and offers a range of editing tools.
Adobe Audition
Adobe Audition is a professional-grade audio editing software that offers advanced features like multi-track editing, noise reduction, and audio restoration. It is part of the Adobe Creative Cloud suite and is ideal for users who need high-quality audio production capabilities.
Reaper
Reaper is a powerful and affordable DAW that offers extensive customization options. It is suitable for both beginners and advanced users, providing a wide range of features for recording, editing, and mixing audio.
Recording Process
Setting Up Your Equipment
1. Connect Your Microphone: If you're using a USB microphone, simply plug it into your computer's USB port. For XLR microphones, connect the microphone to the audio interface and then connect the interface to your computer.
2. Configure Your Software: Open your chosen recording software and configure the input settings to recognize your microphone. This usually involves selecting the microphone from a list of available input devices.
3. Adjust Levels: Use the gain control on your audio interface or within your recording software to adjust the input levels. Aim for a level that is strong but not peaking, as peaking can cause distortion.
Recording
1. Create a New Project: In your recording software, create a new project or session. This will be the workspace where you record and edit your audio.
2. Set Up Tracks: If you're recording multiple sources (e.g., vocals and instruments), set up separate tracks for each source. This allows for easier editing and mixing later on.
3. Record: Press the record button and start speaking or playing. Keep an eye on the input levels to ensure they remain within a suitable range.
4. Stop and Save: Once you've finished recording, press the stop button and save your project. It's a good practice to save your work frequently to avoid losing any progress.
Editing and Exporting
Basic Editing
After recording, you may need to perform some basic editing tasks such as trimming, cutting, and arranging clips. Most recording software offers intuitive tools for these tasks. For instance, you can use the selection tool to highlight a portion of the audio and then cut or delete it.
Applying Effects
Applying effects can enhance the quality of your recording. Common effects include:
- Noise Reduction: Removes background noise from your recording.
- Equalization (EQ): Adjusts the balance of different frequency ranges to improve clarity.
- Compression: Reduces the dynamic range of your audio, making quiet parts louder and loud parts quieter.
- Reverb: Adds a sense of space and depth to your recording.
Exporting
Once you're satisfied with your edits, it's time to export your recording. Choose the appropriate file format based on your needs. Common formats include:
- WAV: Uncompressed and high-quality, suitable for professional use.
- MP3: Compressed and smaller in size, suitable for sharing and streaming.
- FLAC: Lossless compression, offering a balance between quality and file size.
Best Practices
Room Acoustics
The acoustics of your recording environment can significantly impact the quality of your audio. Here are some tips to improve room acoustics:
- Choose a Quiet Room: Select a room with minimal background noise.
- Use Acoustic Treatment: Add foam panels, carpets, and curtains to reduce echo and reverberation.
- Position Your Microphone: Place the microphone away from walls and reflective surfaces.
Monitoring
Monitoring your audio while recording can help you catch issues early. Use headphones to listen to the input signal and make adjustments as needed.
Backup
Always create backups of your recordings. Save copies on external drives or cloud storage to prevent data loss.
Recording audio on your computer can be a rewarding experience, whether you're creating a podcast, recording music, or capturing voice memos. By understanding your needs, choosing the right equipment and software, and following best practices, you can achieve high-quality recordings. Remember to experiment and practice to continually improve your skills. With the right approach, you'll be well on your way to producing professional-grade audio content.


 Anamorphic Lens Effect Filter Optical Glass Ultra-clear Waterproof Anti-Scratch Anti-Reflection Green Film Nano-Klear Series")


 Orange")


