
How To Set Camera For Time Lapse Photography?
Mastering Time-Lapse Photography: Essential Camera Settings and Tips
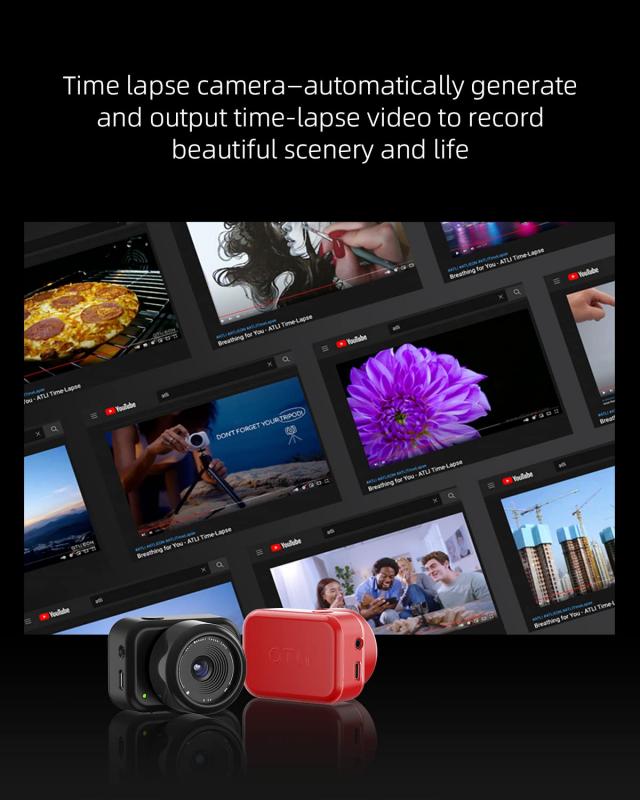
Time-lapse photography is a stunning technique that captures the beauty of transformation by compressing hours, days, or even weeks into a mesmerizing video. From celestial movements to urban hustle, time-lapse allows you to observe events in a way the human eye cannot. However, achieving a captivating time-lapse video requires more than just pointing and shooting—it's about understanding your camera settings, planning your approach, and applying tips that make your project stand out.
In this guide, we will dive deep into the essentials of setting up your camera for time-lapse photography and cover practical tips to help you every step of the way.
Step 1: Choosing the Right Camera and Equipment
Before you start adjusting settings, ensure you have the right gear for time-lapse photography. Here’s what you’ll need:
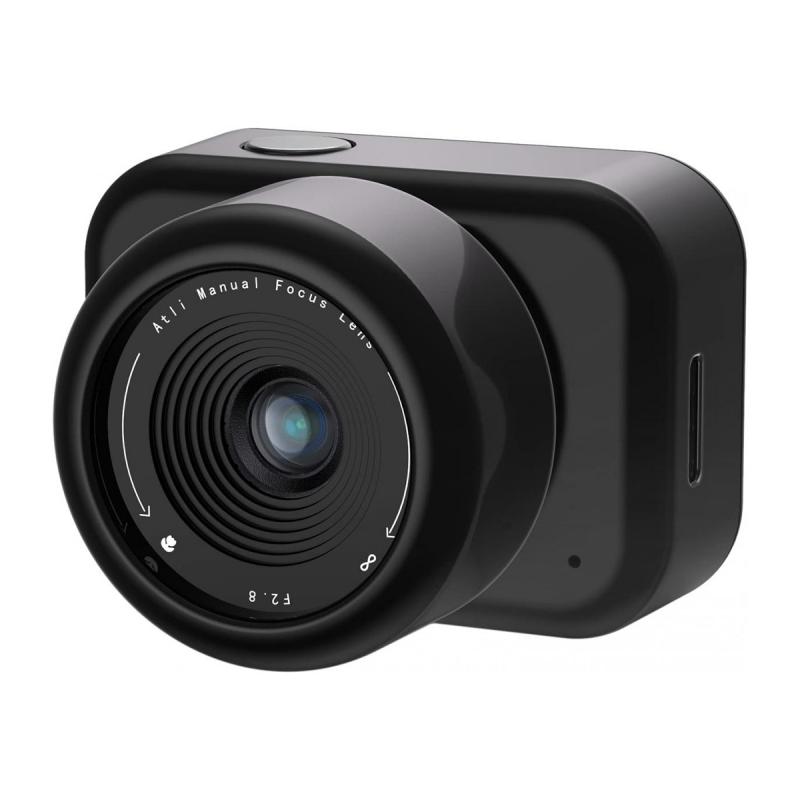
1. Camera: Any DSLR, mirrorless, or advanced point-and-shoot camera that supports manual control and interval shooting will work for time-lapse photography. Some cameras come with built-in intervalometer functionality, while others may require an external intervalometer.
2. Tripod: Stability is critical for time-lapse photography since your camera will remain stationary for extended periods. Invest in a durable tripod to avoid shaky footage.
3. Intervalometer (if needed): This device automates the process of taking photos at consistent intervals. If your camera doesn’t have built-in intervalometer features, an external option can be purchased.
4. Extra Batteries or Power Bank: Long shoots will drain your batteries quickly, so always carry spares or use an external power source.
5. Memory Cards: Time-lapse photography generates hundreds or even thousands of individual images, so use high-capacity and high-speed memory cards to store your data.
6. Neutral Density (ND) Filters: These are useful for daytime shoots when lighting conditions create overly bright exposures. ND filters help you control light and achieve smooth motion blur effects.
Step 2: Planning Your Time-Lapse Sequence
Success in time-lapse photography lies in preparation. Before fiddling with your camera settings, you must answer several key questions:
1. What subject or scene will you capture?
Determine the focus of your time-lapse, whether it's a dynamic scene like traffic or slow changes like blooming flowers.
2. What is the duration of the event?
The time span of your event will dictate how many frames (photos) you need and what intervals to set between shots.
3. What is your desired video length and frame rate?
To calculate the total frames required, decide on the final video frame rate (usually 24 or 30 FPS). For instance, a 10-second video at 30 FPS needs 300 pictures.
4. Understand lighting conditions:
Anticipate changes in light, such as sunsets or weather shifts, and prepare to manage them with white balance, exposure adjustments, or ND filters.
Step 3: Setting Up the Camera
Once you’re equipped and have planned your shoot, the next step involves adjusting your camera settings strategically. Here’s a breakdown of the essential settings to consider:
1. Shooting Mode
Always use Manual mode for time-lapse photography. Automatic modes can vary in exposure settings between shots, leading to flicker in the final video. Manual mode ensures consistency.
2. ISO
Set the ISO manually to a low value (e.g., ISO 100 or ISO 200). A low ISO minimizes noise and produces cleaner images. Avoid Auto ISO, as fluctuating ISO values can introduce inconsistencies.
3. Aperture (f-stop)
Choose a narrow aperture (e.g., f/8 or f/11) if you want a greater depth of field for landscapes. For focused subjects and blurred backgrounds, use a wider aperture. Adjust your aperture so that your scene gets the right exposure while maintaining your creative goal.
4. Shutter Speed
Shutter speed affects the motion blur and appearance of your time-lapse. For fast movements like traffic, a slower shutter speed (e.g., 1/30 or 1/10) creates smooth streaks of motion blur. For static scenes, faster shutter speeds (e.g., 1/200) are enough.
5. White Balance
Set your white balance manually to prevent color shifts during the sequence. Match it to the ambient lighting conditions—select Daylight for sunny shots or Tungsten for night scenes. Using Auto White Balance can cause varying tones between frames.
6. Focus
Switch to manual focus to ensure your camera stays focused on the subject throughout the sequence. Pre-focus using live view and test different focal points. Autofocus can drift and alter the focus between shots.
7. Image Format
Shoot in RAW format for maximum editing flexibility in post-production. While RAW files take up more space, they provide greater detail and allow adjustments to exposure, white balance, and color grading without sacrificing quality.
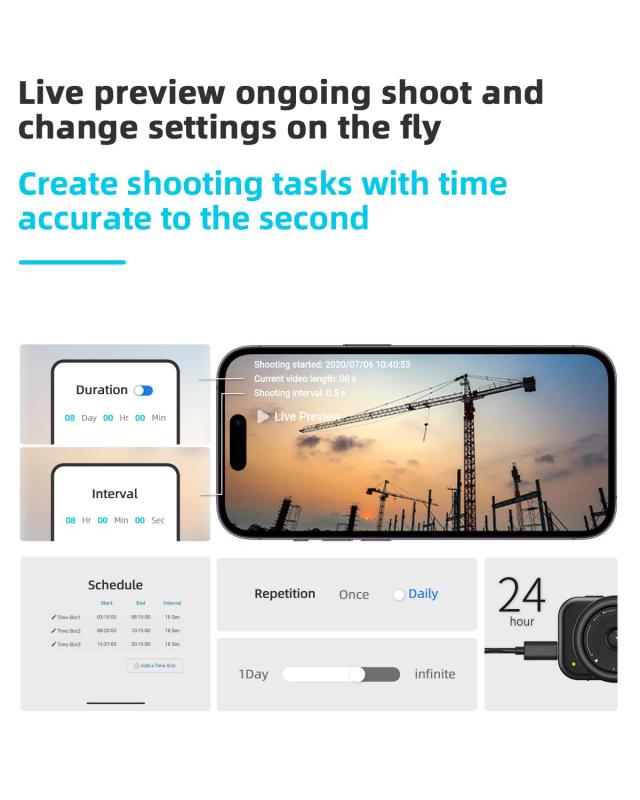
8. Interval Timing
Set the interval time based on how frequently your subject changes. Fast-moving subjects (like clouds on a windy day) may require intervals of 2-5 seconds, while slower scenes (like the construction of a building) may need intervals of minutes or hours.
Step 4: Capturing the Time-Lapse Photos
With your settings optimized, it’s time to start shooting:
1. Compose Your Frame: Set up your tripod in a stable location and frame the subject carefully. Consider the rule of thirds or other compositional techniques.
2. Double-Check Your Settings: Verify exposure, focus, and framing one last time before starting the sequence.
3. Test Run: Take a few sample shots and review them. Test for proper exposure, focus, motion blur, and color accuracy.
4. Begin Shooting: Use your camera’s intervalometer to automate the shot-taking process. If your camera lacks a built-in intervalometer, configure an external one.
Step 5: Post-Processing Your Time-Lapse
Once you've completed shooting, you’ll have hundreds or thousands of individual images to work with. Here’s how to assemble them into a stunning time-lapse video:
1. Import Images: Transfer your RAW files to your computer and organize them in chronological order. Software like Lightroom, Adobe Photoshop, or Capture One can help you edit them efficiently.
2. Edit Photos: Adjust exposure, contrast, highlights, shadows, and color grading for consistency across all frames. Apply batch edits in Lightroom to save time.
3. Assemble the Time-Lapse: Use video-editing software like Adobe Premiere Pro, Final Cut Pro, or even free options like DaVinci Resolve. Import your edited images and compile them into an image sequence with your desired frame rate.
4. Add Effects: During video editing, you can adjust transitions, stabilize footage, correct flicker, or add music for a more engaging result.
Tips for Optimal Time-Lapse Photography
1. Scout Your Location: Visit your location ahead of time to understand the framing, lighting, and movement of your subjects.
2. Account for Battery Life and Storage: Keep an eye on resource consumption and plan to shoot only what’s necessary.
3. Avoid Camera Shake: Ensure your tripod is stable, and disable any image stabilization (IBIS/VR) features that might misinterpret stationary frames and introduce unintended movements.
4. Shoot Longer Than You Need: Overshoot your sequence to provide flexibility during editing. Trim frames later if necessary.
5. Monitor Weather: Sudden storms or extreme temperature shifts can disrupt your sequence or damage your equipment. Prepare for contingencies like rain covers or lens cloths.
Common Mistakes to Avoid
1. Inconsistent Interval Timing: Adjust timing appropriately to ensure flow and avoid jumpy motion in the final result.
2. Overexposure or Underexposure: Double-check your exposure before initiating the time-lapse to avoid blown highlights or crushed shadows.
3. Skipping RAW Format: Shooting in JPEG limits post-processing capabilities, making color correction or exposure adjustments harder.
4. Improper Focus: Ensure your focus won’t change throughout the sequence. Test your focal range thoroughly before shooting.
Final Thoughts
Time-lapse photography is both an art and a science, allowing photographers to creatively


 Filter Nano-Xcel Series - 28 Multi-Layer Coatings for Camera Lens")

 Variable Neutral Density and Polarizer for Camera Lens Nano-Dazzle Series")

")


