How To Record An Audio File On Macbook?
Recording audio on a MacBook is a task that many users find themselves needing to accomplish, whether for professional purposes, academic projects, or personal use. The process can seem daunting to those unfamiliar with the tools and software available on macOS, but it is actually quite straightforward once you understand the options at your disposal. This article will guide you through the various methods to record audio on a MacBook, ensuring you can choose the one that best fits your needs.
Built-in Tools for Audio Recording

1. Voice Memos

Voice Memos is a built-in application on macOS that offers a simple and effective way to record audio. It is particularly useful for quick recordings, such as capturing ideas, lectures, or personal notes.
Steps to Record Using Voice Memos:
1. Open the Voice Memos app from the Applications folder or by searching for it using Spotlight.
2. Click the red record button to start recording.
3. Speak into your MacBook’s built-in microphone or an external microphone if you have one connected.
4. Click the stop button when you are finished recording.
5. The recording will automatically be saved and can be played back, edited, or shared directly from the app.
Voice Memos is user-friendly and requires no additional setup, making it ideal for users who need a quick and easy recording solution.
2. QuickTime Player

QuickTime Player is another built-in application that can be used for audio recording. While it is primarily known for video playback, it also has robust audio recording capabilities.
Steps to Record Using QuickTime Player:
1. Open QuickTime Player from the Applications folder or by searching for it using Spotlight.
2. Go to the File menu and select “New Audio Recording.”
3. In the audio recording window, click the red record button to start recording.
4. Speak into your MacBook’s built-in microphone or an external microphone.
5. Click the stop button when you are finished recording.
6. Save the recording by going to the File menu and selecting “Save.”
QuickTime Player offers more control over the recording process compared to Voice Memos, including the ability to adjust the recording quality.
Third-Party Applications

While the built-in tools are sufficient for many users, some may require more advanced features that are available in third-party applications. Here are a few popular options:
1. Audacity
Audacity is a free, open-source audio recording and editing software that is widely used by professionals and hobbyists alike. It offers a comprehensive set of features for recording, editing, and mixing audio.
Steps to Record Using Audacity:
1. Download and install Audacity from the official website.
2. Open Audacity and select your input device (e.g., built-in microphone or external microphone) from the dropdown menu.
3. Click the red record button to start recording.
4. Speak into your microphone.
5. Click the stop button when you are finished recording.
6. Edit your recording using Audacity’s extensive editing tools if needed.
7. Save your recording by going to the File menu and selecting “Export.”
Audacity is ideal for users who need advanced editing capabilities and are willing to invest time in learning the software.
2. GarageBand
GarageBand is a powerful audio recording and editing application that comes pre-installed on most MacBooks. It is designed for music production but can be used for any type of audio recording.
Steps to Record Using GarageBand:
1. Open GarageBand from the Applications folder or by searching for it using Spotlight.
2. Create a new project and select “Empty Project.”
3. Choose the “Audio” track option and click “Create.”
4. Select your input device (e.g., built-in microphone or external microphone) from the track settings.
5. Click the red record button to start recording.
6. Speak into your microphone.
7. Click the stop button when you are finished recording.
8. Edit your recording using GarageBand’s extensive editing tools if needed.
9. Save your recording by going to the File menu and selecting “Save” or “Export.”
GarageBand is perfect for users who need a versatile tool for both recording and editing audio, especially those involved in music production.
Tips for High-Quality Audio Recording
Regardless of the tool you choose, there are several best practices to ensure high-quality audio recordings:
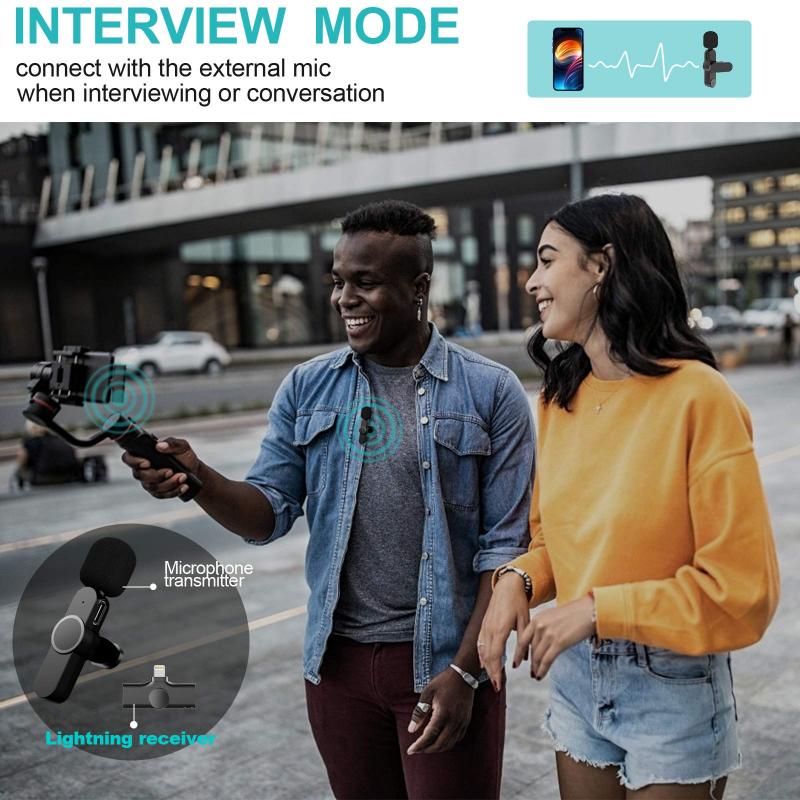
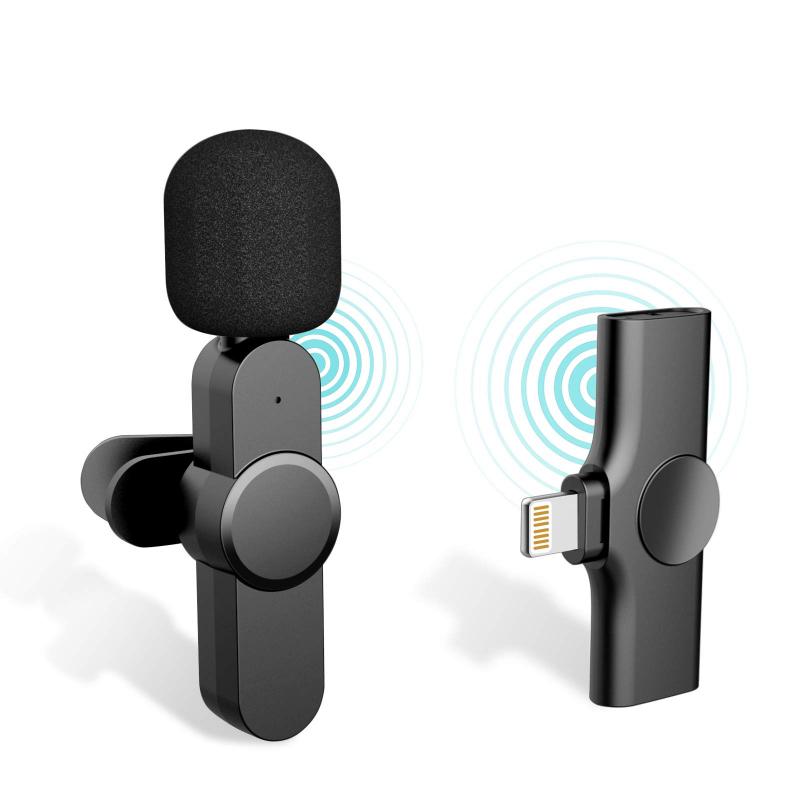
1. Use an External Microphone: While the built-in microphone on a MacBook is adequate for basic recordings, an external microphone can significantly improve audio quality.
2. Find a Quiet Environment: Background noise can detract from the clarity of your recording. Choose a quiet location and consider using soundproofing materials if necessary.
3. Adjust Input Levels: Ensure that your input levels are set correctly to avoid distortion or clipping. Most recording applications allow you to adjust these settings.
4. Monitor Your Recording: If possible, use headphones to monitor your recording in real-time. This allows you to catch any issues immediately and make adjustments as needed.
5. Edit and Enhance: Take advantage of the editing tools available in your chosen application to enhance your recording. This can include removing background noise, adjusting volume levels, and adding effects.
Recording audio on a MacBook is a task that can be accomplished using a variety of tools, from built-in applications like Voice Memos and QuickTime Player to more advanced third-party software like Audacity and GarageBand. By understanding the features and capabilities of each tool, you can choose the one that best meets your needs and ensure high-quality recordings. Whether you are a professional, a student, or simply someone looking to capture personal notes, the methods outlined in this article will help you achieve your audio recording goals on a MacBook.

There are no comments for this blog.