How To Fix Ipad Microphone?
Fixing an iPad Microphone: A Comprehensive Guide
The iPad, a versatile and powerful device, has become an essential tool for many users, whether for professional use, educational purposes, or personal entertainment. However, like any piece of technology, it can encounter issues, one of the most frustrating being a malfunctioning microphone. A non-functional microphone can disrupt video calls, voice recordings, and even basic voice commands. This article aims to provide a detailed guide on diagnosing and fixing common iPad microphone issues, ensuring your device is back to optimal performance.
Understanding the Problem

Before diving into solutions, it’s crucial to understand the potential causes of microphone issues on an iPad. These can range from software glitches to hardware malfunctions. Here are some common symptoms indicating a problem with your iPad’s microphone:
1. No Sound During Recordings: When you record audio or video, there is no sound or the sound is very faint.
2. Poor Audio Quality: The recorded sound is distorted, muffled, or has a lot of background noise.
3. Unresponsive to Voice Commands: Siri or other voice-activated features do not respond or misinterpret commands.
4. Issues During Calls: Callers cannot hear you, or the audio cuts in and out during conversations.
Step-by-Step Troubleshooting Guide
1. Check for Obstructions
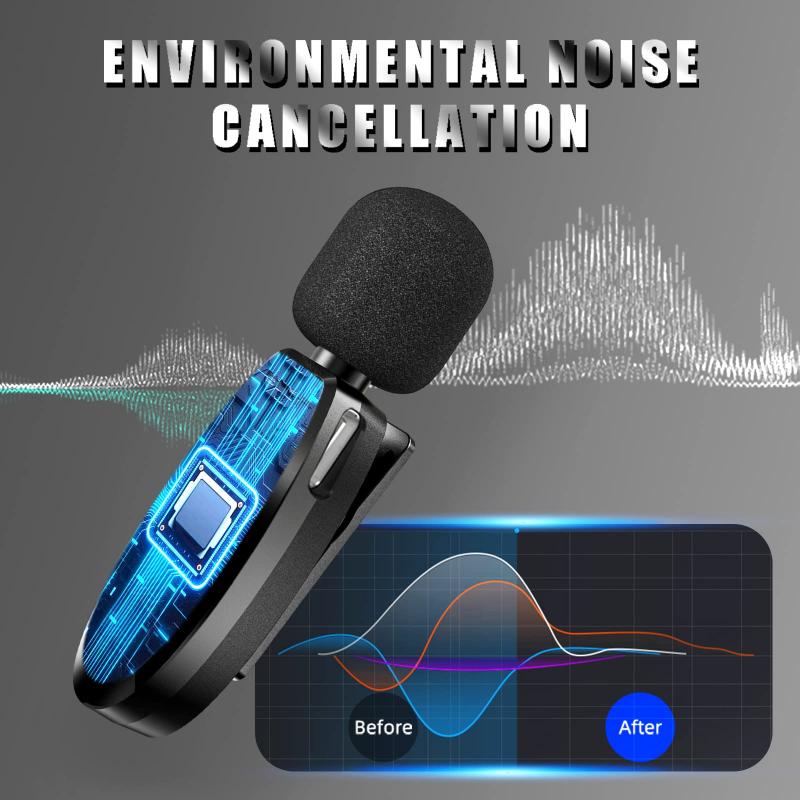
The first step is to ensure that nothing is physically blocking the microphone. Dust, dirt, or even a protective case can obstruct the microphone.
- Inspect the Microphone: Locate the microphone on your iPad (usually near the camera) and check for any visible obstructions.
- Clean the Microphone: Use a soft brush or a can of compressed air to gently clean the microphone area. Avoid using sharp objects that could damage the microphone.
2. Restart Your iPad
Sometimes, a simple restart can resolve minor software glitches that may be affecting the microphone.
- Restart Procedure: Press and hold the power button until the “slide to power off” slider appears. Slide to turn off the iPad, wait a few seconds, and then press the power button again to turn it back on.
3. Check App Permissions
Certain apps require permission to access the microphone. If these permissions are not granted, the microphone will not work within those apps.
- Adjust Permissions: Go to Settings > Privacy > Microphone. Ensure that the apps you want to use the microphone with have the necessary permissions enabled.
4. Update iOS
Outdated software can cause various issues, including microphone malfunctions. Ensure your iPad is running the latest version of iOS.
- Update Procedure: Go to Settings > General > Software Update. If an update is available, follow the on-screen instructions to download and install it.
5. Test the Microphone
Testing the microphone can help determine if the issue is hardware-related or specific to certain apps.
- Voice Memos App: Open the Voice Memos app and record a short message. Play it back to check the sound quality.
- Camera App: Record a video using the Camera app and listen to the audio playback.
6. Reset All Settings
If the above steps do not resolve the issue, resetting all settings might help. This will not delete your data but will reset system settings to default.
- Reset Procedure: Go to Settings > General > Reset > Reset All Settings. Confirm your choice and wait for the iPad to restart.
7. Restore iPad to Factory Settings
As a last resort, restoring your iPad to factory settings can eliminate any software issues causing the microphone problem. This will erase all data, so ensure you have a backup.
- Factory Reset Procedure: Go to Settings > General > Reset > Erase All Content and Settings. Follow the on-screen instructions to complete the process.
When to Seek Professional Help
If none of the above steps resolve the issue, it is likely that the problem is hardware-related. In such cases, it is best to seek professional help.
- Apple Support: Contact Apple Support or visit an Apple Store for a diagnostic test. If your iPad is under warranty, repairs may be covered.
- Authorized Service Providers: If you do not have access to an Apple Store, look for authorized service providers who can diagnose and repair hardware issues.
Preventive Measures
To avoid future microphone issues, consider the following preventive measures:
- Regular Cleaning: Periodically clean the microphone area to prevent dust and debris buildup.
- Protective Cases: Use cases that do not obstruct the microphone.
- Software Updates: Keep your iPad’s software up to date to avoid compatibility issues and software glitches.
A malfunctioning microphone on an iPad can be a significant inconvenience, but with the right approach, most issues can be resolved without professional intervention. By following the steps outlined in this guide, you can diagnose and fix common microphone problems, ensuring your iPad remains a reliable tool for communication and productivity. Remember, if the issue persists, professional help is always available to get your device back in working order.

