
How To Install Front Door Security Camera?
The safety and security of your home is something no one should take lightly. One of the most effective tools for improving your home’s security is installing a front door security camera. With the rise in affordable and sophisticated technology, front door cameras are now equipped with features like motion detection, high-definition video recording, two-way audio, and even night vision. Properly installing one doesn’t just provide you with peace of mind; it can also deter trespassers and provide crucial evidence in case of incidents. Whether you’re a complete beginner or have some DIY experience, this guide will walk you through the process of installing a front door security camera efficiently and correctly.
1. Understand Your Needs and Choose the Right Camera
Before you start the installation process, it's essential to consider why you need a front door security camera. For instance:
- Do you want to monitor deliveries and visitors?
- Are you primarily concerned about theft or vandalism?
- Do you need audio features or simple visual footage?
Once you’ve identified your priorities, you can choose the right type of security camera. There are several types available:
Wired cameras require professional installation and provide a reliable connection.
Wireless cameras are easier to install and typically connect via Wi-Fi.
Battery-powered cameras are convenient for those looking for quick and simple setups.
Smart cameras integrate with other smart home devices and can be controlled via apps.
Pay attention to features like video resolution, motion detection range, weatherproof ratings, and storage options (local or cloud storage).
2. Pick the Ideal Location
The camera’s placement plays a significant role in its effectiveness. You’ll want to consider the following when deciding where to install it:
View Coverage: Ensure the camera captures the front door, porch, and pathway leading to your house. This will help monitor visitors, packages, and other activities.
Height and Tilt: Position the camera high enough that it’s out of reach for tampering, but tilt it downward to clearly record faces and actions at the front door.
Lighting: Avoid locations that receive direct sunlight or excessive glare during certain parts of the day, as this could distort the captured footage.
Weather Protection: If your camera is not fully weatherproof, make sure it’s placed under an eave or covered area that protects it from rain and snow.
Typically, the recommended height for installing a front door camera is 6–8 feet above the ground.
3. Prepare the Tools and Equipment
Once you’ve picked your camera and the installation location, gather the necessary tools and equipment:
- The security camera kit (including mounting hardware)
- Electric drill and screws
- Screwdrivers (Phillips and flat-head)
- Measuring tape or level for alignment
- Wi-Fi router for wireless cameras
- Extension cords or power adapter (if applicable)
- Smartphone or PC with the camera app for configuration
If the camera you chose requires wiring, you may also need a fish tape and cable clips for running cables neatly.
4. Install the Mounting Bracket
Many cameras come with a mounting bracket that serves as the base for installation. Here's how to proceed:
- Place the bracket in your desired spot and use a level to ensure alignment.
- Mark the drill holes on the wall using a pencil.
- Drill holes into the wall and insert anchors if required (anchors provide additional stability on surfaces like drywall).
- Attach the mounting bracket securely with screws.
Take extra care when drilling into brick or masonry walls, as these may require special drill bits for concrete surfaces.
5. Mount the Camera
Once the bracket is in place, attach the security camera to it. Depending on your model:
- Tighten the screws or clips to secure the camera.
- Adjust the camera angle to maximize coverage of your front door and pathway.
- Some cameras offer swivel mechanisms that allow you to finetune the alignment.
If you're installing a wired camera, now is the time to run the cables neatly along walls or ceilings. Use cable clips to secure them and avoid loose wiring that can be a trip hazard or prone to damage.
6. Power the Camera
The way you power your camera depends on its type:
Wired cameras: Connect them to the nearest power outlet or integrate them with your home’s electrical system if required. You might need an electrician for this step.
Wireless cameras: Simply switch out batteries or connect the camera to its included power adapter.
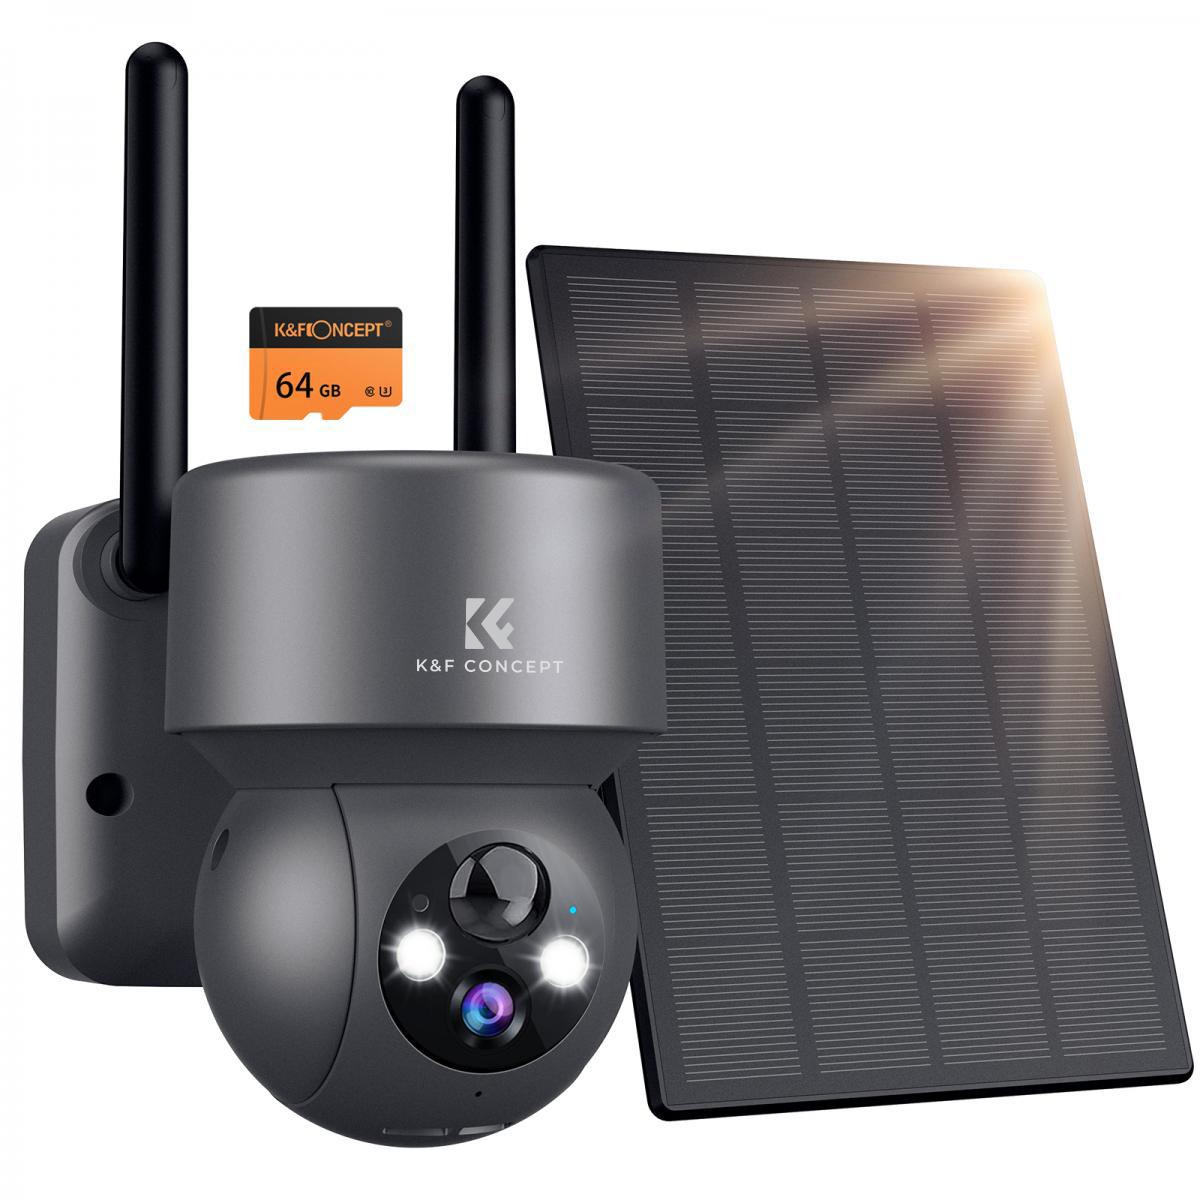
Solar-powered cameras: Place the accompanying solar panel in a spot where it receives direct sunlight throughout the day.
Double-check that the power cables, if any, are organized and don’t interfere with the lens or movement sensors of the camera itself.
7. Connect the Camera to Wi-Fi
Modern security cameras often rely on Wi-Fi connectivity, enabling you to monitor footage remotely via an app. Follow these steps:
- Download the camera’s app (usually provided in the camera’s manual or packaging).
- Follow the setup tutorial within the app to connect the camera to your home Wi-Fi network.
- Test the Wi-Fi signal strength at the camera's location; you may need a signal extender if the connection is weak or unreliable.
If your camera relies on wired internet connectivity, use an Ethernet cable to connect it to your router directly.
8. Configure Settings
Once connected, it’s time to customize the settings according to your needs:
Motion Detection: Fine-tune the sensitivity so that it doesn’t alert you for cars passing by or birds flying near the camera.
Notifications: Activate push notifications to your smartphone for real-time alerts.
Storage Settings: Set up cloud storage or insert an SD card for local data saving.
Privacy Zones: Use software tools to block areas you don’t wish to monitor (e.g., neighboring properties).
Take time to familiarize yourself with the app interface and security features.
9. Test the Camera
Testing the camera ensures that your setup is functional and optimized. Here’s what to check:
- Assess video clarity during both day and night conditions.
- Test the motion detection by walking in front of the camera.
- Try the two-way audio feature to ensure your microphone and speaker functions are working correctly.
- Confirm the app’s ability to stream footage remotely.
Fine-tune settings or reposition the camera if necessary based on test results.
10. Secure and Maintain the Camera
Once the camera is up and running, take steps to ensure it stays operational:
- Regularly clean the camera lens to prevent dirt or watermarks from obscuring the footage.
- Check for loose screws or mounts after storms or windy days.
- Update firmware as prompted by the camera’s manufacturer for improved functionality.
- Replace or recharge batteries as needed if the camera isn’t hardwired.
If you’re concerned about theft of the device itself, you can also use tamper-proof screws or install a lockable casing around the camera.
Installing a front door security camera is a manageable yet impactful project that contributes significantly to your home security. Following the steps outlined in this guide provides a comprehensive approach, from selecting the right device to testing its functionality. With modern security cameras offering accessible features and technology, even non-experts can successfully install them without professional help. Don’t forget to routinely maintain your camera to ensure it continues to protect your home efficiently. By investing the time to do it right, you can rest assured knowing your front door is well-monitored and your home and loved ones are safer.


 Filter Nano-Xcel Series - HD Fixed & Ultra Slim Frame Import Optical Glass Neutral Density Filter")


