
How To Install A Waterproof Ptz Wifi Camera?
Guide to Installing a Waterproof PTZ WiFi Camera
Installing a waterproof PTZ (Pan-Tilt-Zoom) WiFi camera is an excellent way to enhance your security and monitor outdoor spaces effectively. These cameras are particularly popular for their ability to provide real-time surveillance with flexible movement and zooming features, and their weatherproof design makes them well-suited for resisting rain, dust, and temperature changes. If you're new to installation or want to ensure optimal functioning of your camera, this guide will walk you through all the necessary steps and considerations.
Step 1: Pre-Installation Preparation

Before you begin the installation process, it's essential to prepare and gather everything you'll need. Proper planning can save you time and prevent mistakes.
1.1 Understand Your Camera Type
Different models of waterproof PTZ WiFi cameras come with varying features. Ensure you review the product manual thoroughly to know how your specific camera functions and what accessories it requires (power adapters, mounting hardware, etc.).
1.2 Identify the Installation Location
Positioning: Select a location with unobstructed views where the camera can cover the desired area effectively. Pay attention to its angle, pan-tilt range, and zoom capabilities to maximize coverage.
Connectivity: Ensure the camera can receive your WiFi signal reliably. For areas with weak signals, consider installing a WiFi extender.
Weather Protection: While your camera is waterproof, consider mounting it under an eave or a sheltered area to prevent direct exposure to extreme environmental conditions. This also helps prolong its lifespan.
1.3 Test the Camera
Before final installation, test the camera's functionality by connecting it to power and pairing it with your smartphone or computer. Ensure the PTZ movements and WiFi connectivity are working correctly.
1.4 Gather Necessary Tools
Typically, you will need:
- A drill and screwdriver
- Mounting brackets (usually included in the package)
- Anchors and screws (specific to the receiving surface, e.g., concrete, wood)
- Ladder (depending on installation height)
Step 2: Mounting the Camera

Once you’ve finalized the location, it’s time to mount the hardware securely. Proper mounting ensures the camera remains stable and provides optimal viewing angles.
2.1 Attach the Mounting Bracket
Secure the mounting bracket that comes with the camera to the wall, ceiling, or pole at the chosen location.
Drill Holes: Use the bracket as a template to mark where the mounting holes need to be drilled.
Insert Anchors: For surfaces like concrete or brick, insert wall anchors before screwing the bracket in place.
Secure the Bracket: Attach the bracket tightly using screws to ensure it doesn’t wobble during movement.
2.2 Place the Camera
Carefully attach the PTZ camera to the mounting bracket.
- First, align the camera with the bracket.
- Ensure tight screws and clamps, but avoid over-tightening as that could damage the hardware.
2.3 Manage Wires (If Applicable)
Some PTZ WiFi cameras are powered by cables rather than batteries. If so:
- Route the power cable through the mounting bracket to prevent tangling.
- Weatherproof the connection points by using waterproof junction boxes, tape, or sealant.
Step 3: Powering the Camera

Powering the camera correctly is crucial to avoid future interruptions. Most waterproof PTZ cameras offer the following options:
1. Wired Power Source: Connect the power adapter to an outlet. If installing outdoors, use weatherproof extension cords and enclosures to protect against exposure.
2. Solar Power (Optional): Some models come with solar panels, allowing for eco-friendly and wire-free operation. Ensure the panel is placed in an area with direct sunlight.
3. Battery-Powered Cameras: If your camera runs on rechargeable batteries, ensure they are fully charged before installation. Remember to check battery levels periodically.
Step 4: Connect to WiFi and Configure Settings
Nearly all modern PTZ cameras rely on WiFi to function, so setting up the connection is essential. Here's how:
4.1 Pair the Camera with Your WiFi Network
- Download the camera's corresponding app (as mentioned in the user manual) on your smartphone or tablet.
- Turn on the camera. The device should enter pairing mode, typically indicated by a flashing light.
- Using the app, scan the QR code on the camera or enter the SSID and password for your WiFi network.
- Confirm the connection status in the app once the camera successfully pairs.
4.2 Configure Camera Settings
After connecting to WiFi, take time to adjust the settings to suit your needs:
Motion Detection: Enable motion or sound detection if your camera supports these features, and set the sensitivity level to reduce false alarms.
Scheduled Monitoring: Configure operating hours for routine monitoring.
PTZ Controls: Use the app to test pan, tilt, and zoom functions to achieve optimal coverage of every corner of the area.
Alerts and Notifications: Turn on push notifications for real-time updates about detected movement or other triggers.
Firmware Updates: Ensure the camera software is updated to the latest version for better performance and security.
Step 5: Optimize Camera Performance
Your installation is complete, but several best practices can improve the long-term performance of your waterproof PTZ WiFi camera.
5.1 Regular Maintenance
Even though the camera is waterproof, periodic cleaning of the lens ensures clear footage. Use a microfiber cloth to gently remove dirt, water spots, or smudges.
5.2 Check Network Connectivity
Outdoor cameras may experience intermittent connectivity issues due to fluctuating WiFi signals. Place a router or extender within range and monitor stability.
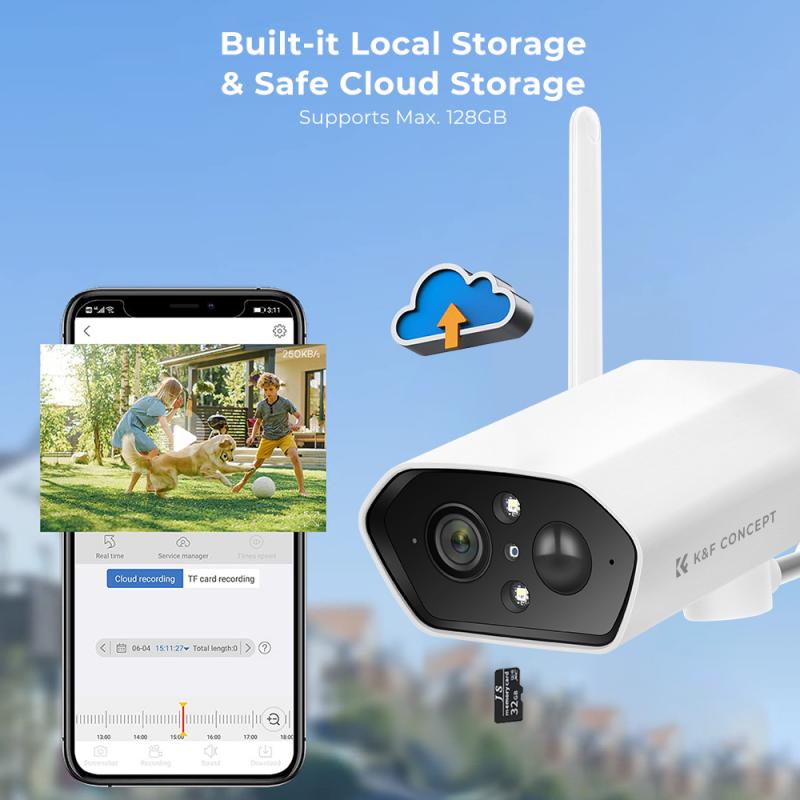
5.3 Backup Recordings
Many cameras support cloud storage or local SD card storage for video recordings. Regularly back up your footage to prevent losing critical surveillance data.
5.4 Monitor Security Trends
Check the camera’s settings to detect any atypical activity or unauthorized access attempts. Some models offer advanced encryption features to protect data integrity.
Common Challenges During Installation
1. Weak WiFi Signal: Position the camera closer to the router or use a signal booster.
2. Incorrect Wiring: Follow the user manual diagrams carefully to avoid crossed or loose wiring.
3. App Malfunctions: If the camera app fails to connect or crashes repeatedly, try reinstalling the app or restarting the device.
4. Unstable Mounting: Ensure the mounting bracket is secure and capable of carrying the camera’s weight under windy conditions.
5. Camera Offline Notice: Confirm that power and WiFi connectivity are uninterrupted, then reboot the camera.
Why This Type of Camera is Ideal for Outdoor Surveillance
Waterproof PTZ WiFi cameras are tailored for outdoor security due to their robust designs and advanced functionalities. Here’s why they're worth investing in:
Weather Resistance: Their waterproof construction ensures they can withstand rain, humidity, and dust without malfunctioning.
Remote Access: You can monitor your property from anywhere via smartphone applications.
Wide Area Coverage: PTZ cameras provide enhanced coverage since they’re not limited to a single direction or angle.
Smart Alerts & Recording: Instant notifications and seamless video storage help minimize the risk of theft, trespassing, or damage.
Key Takeaways
Installing a waterproof PTZ WiFi camera involves careful planning, precise mounting, and thorough post-installation optimization. By following this guide, you can confidently install your surveillance system in a way that maximizes security and reliability. Whether you’re securing your home, office, or other outdoor spaces, maintaining your camera properly ensures uninterrupted service and peace of mind.


 & Circular Polarizing Filter CPL & Black Mist 1/4 3 in 1 HD Lens Filter with 28 Multi-Coated for Camera Lenses Nano-Xcel Series")

- 28 Multi-Coated Glass Waterproof Gray ND")
")
 4 Pack Compatible with DJI Avata 2, Multi-coated Neutral Density Drone Filters")


")
")


