

Osmo Pocket How To Use Nd Filters?
Mastering ND Filters for Your Osmo Pocket: Enhance Your Videography
The Osmo Pocket is a compact and highly versatile camera that has gained popularity among filmmakers, vloggers, and hobbyists for its ease of use and portability. Its stabilization and image quality allow users to create professional-looking footage, but one aspect that can elevate your videos and provide more creative control is the use of neutral density (ND) filters.
ND filters might seem a bit intimidating if you're new to filmmaking or photography. However, understanding their purpose and learning how to use them effectively can completely transform the quality of your videos. In this guide, we'll break down what ND filters are, why you need them for your Osmo Pocket, and how to use them step by step.
What Are ND Filters and Why Are They Important?
Neutral density filters reduce the amount of light that enters your camera lens without affecting the colors of the image. Think of them as sunglasses for your camera. They allow you to control exposure and achieve specific cinematic effects by adjusting the shutter speed and aperture, particularly in bright environments.
For instance, when shooting outdoors in strong sunlight, your footage might become overexposed, or your camera may increase the shutter speed to compensate for the brightness. However, a high shutter speed can make motion appear choppy and unnatural. ND filters combat this issue by decreasing the light intensity, enabling you to use a slower shutter speed to capture smoother, more cinematic motion blur.
Why Use ND Filters with the Osmo Pocket?
The Osmo Pocket is an outstanding device for handheld filmmaking but, like many compact cameras, it has its limitations when it comes to light sensitivity and exposure control.
Here are some key reasons to use ND filters with the Osmo Pocket:
1. Achieve Proper Motion Blur: In video, the "180-degree shutter rule" suggests maintaining a shutter speed roughly double your frame rate to achieve natural motion blur. For example, if you're shooting at 24 frames per second (fps), aim for a shutter speed of 1/48 or 1/50. ND filters make this possible in bright conditions.
2. Avoid Overexposure: Shooting in sunny environments without ND filters often results in overexposed footage. ND filters help tame the brightness and keep your image properly exposed.
3. Elevate Cinematic Quality: A slow shutter speed combined with a stable frame rate and ND filters adds a professional quality to your videos by creating fluid and realistic motion dynamics.
4. Expand Creative Possibilities: ND filters enhance your ability to experiment with aperture and depth-of-field settings, allowing for creative techniques such as long exposures or artistic blur effects in videos and photos.
How to Use ND Filters with the Osmo Pocket
Follow these steps to get started with ND filters and unlock their full potential:
1. Choose the Right ND Filter
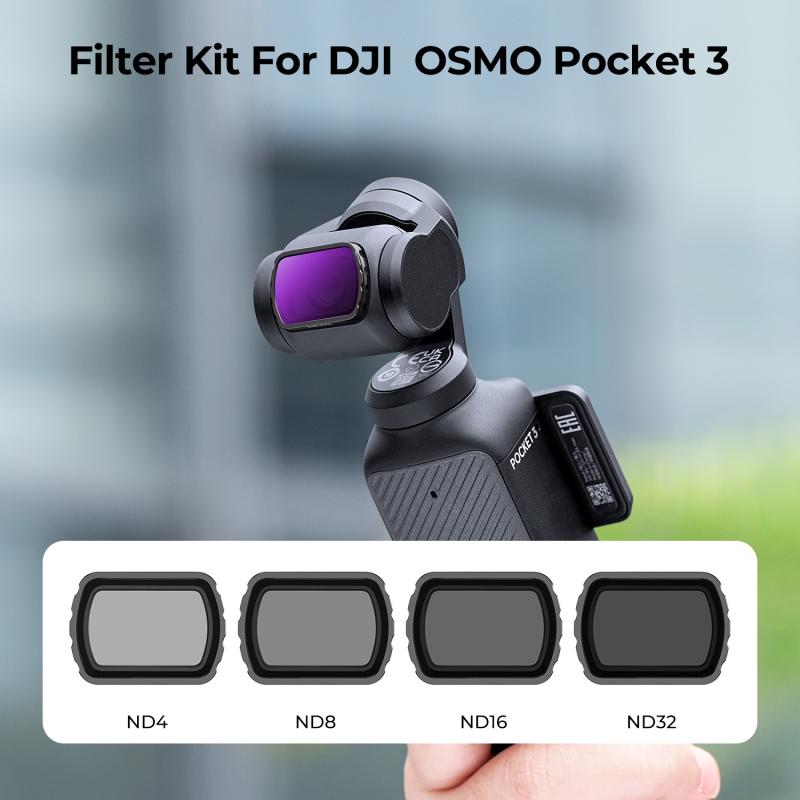
ND filters come in varying strengths based on how much light they block, represented by numbers such as ND4, ND8, ND16, ND32, and so forth. The higher the number, the more light the filter reduces. Here's a basic guideline to choose the right filter:
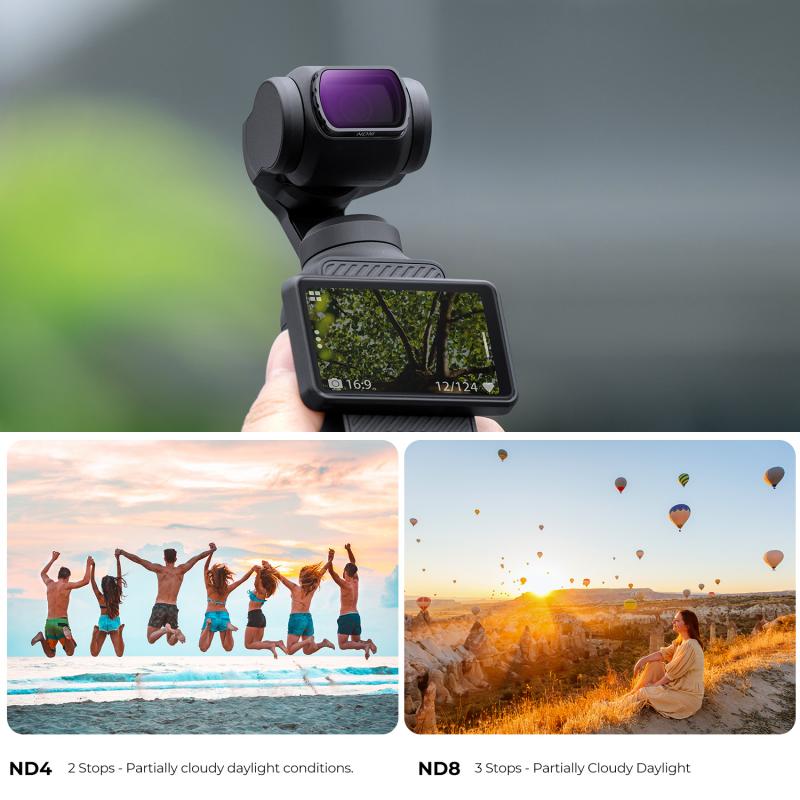
- ND4: Light reduction by 2 stops. Ideal for overcast conditions or early morning/late afternoon.
- ND8: Light reduction by 3 stops. Suitable for cloudy but bright environments.
- ND16: Light reduction by 4 stops. Great for sunny days.
- ND32: Light reduction by 5 stops. Perfect for very bright outdoor conditions, such as beaches or snow.
Assess the lighting conditions of your shooting environment and select the appropriate strength.
2. Attach the ND Filter to Your Osmo Pocket
Most ND filters for the Osmo Pocket are magnetic or clip-on, making them easy to install. Simply align the filter with your camera lens and ensure it is securely attached. Before shooting, double-check that the filter is perfectly centered to avoid unwanted vignetting or distortion.
3. Adjust Camera Settings
Now that the ND filter is in place, gain more control over your shots by adjusting the manual settings on your Osmo Pocket. Here's a quick checklist:
Frame Rate: Set your desired frame rate (e.g., 24fps, 30fps) depending on your project’s needs.
Shutter Speed: Follow the 180-degree shutter rule. For example, if your frame rate is 24fps, set the shutter speed to 1/48 or 1/50. In bright conditions, this is where ND filters shine by enabling lower shutter speeds.
ISO: Set ISO to as low as possible (typically ISO100) for clean footage without noise.
White Balance: Adjust your white balance if needed for accurate, neutral colors.
These manual adjustments allow you to work in harmony with the ND filter to create beautifully balanced and cinematic footage.
4. Test and Fine-Tune
Before starting serious filming, take a moment to test your setup:
- Record a few sample shots to confirm your exposure levels.
- Ensure that the ND filter is not creating artifacts, such as unwanted color shifts or vignettes, which might occur with poorly made filters.
Tweak your settings or switch to a different ND filter strength if necessary.
5. Understand Limitations and Adjustments
While ND filters are incredibly useful, they do require some practice for optimal results:
- Avoid shooting directly into the sun, as extreme glare might still cause issues despite the filter.
- In rapidly changing lighting conditions (e.g., partially cloudy days), you may need to swap filters or adjust settings frequently.
Dos and Don’ts When Using ND Filters
Dos:
- Do clean your ND filters regularly to avoid smudges or dust affecting image quality.
- Do experiment with different ND filter strengths to achieve the best effect for your scene.
- Do pair ND filters with other accessories, such as a CPL (circular polarizing filter), to reduce reflections or glare from water or glass surfaces.
Don’ts:
- Don’t use ND filters indoors, as they may reduce too much light and darken the image unnecessarily.
- Don’t rely solely on auto settings when using ND filters. Manual control ensures better results.
- Don’t use low-quality filters, as they can diminish color accuracy and cause distortion.
Advanced Tips for ND Filter Users
1. Combine ND Filters with Color Grading
Shooting with an ND filter gives your footage a great base, but color grading during post-production can further enhance the cinematic feel. Adjust contrast, saturation, and exposure levels to polish your final shot.
2. Experiment with Long Exposure
ND filters aren’t just for video; they allow for creative photography techniques like long exposures. With an ND filter, you can capture artistic motion blur in water, clouds, or traffic even during the day.
3. Use ND/PL Filters in Dynamic Settings
Some ND filters have built-in polarizers (ND/PL), giving you control over reflections and glare while reducing light. These are particularly helpful for shooting near water, glass, or other reflective surfaces.
Conclusion
Using ND filters with your Osmo Pocket camera can revolutionize your filmmaking experience by giving you greater creative control and helping you achieve smooth, cinematic results. From selecting the right filter strength to optimizing your camera settings, the steps outlined above will guide you through the process with ease.
By understanding the role of ND filters, mastering their use, and applying advanced techniques, you can tackle common challenges in videography—like overexposure and choppy motion—and bring your creative vision to life. Whether you’re shooting crisp travel vlogs, adventurous outdoor footage, or dreamy cinematic videos, ND filters are an indispensable tool in your gear kit.
So, take your Osmo Pocket out into the world, try different ND filters, and start transforming your footage into breathtaking visual stories.


 Lens Mount to FUJI Micro SLR Mount Camera Body Adapter, EOS(EF)-FX FIT PRO")

")


 Filter Number Mean and How to Purchase One")


