How To Build A Solar Power Panel?
Building a solar power panel can be a rewarding and cost-effective way to harness renewable energy. Whether you're looking to reduce your electricity bills, live off the grid, or simply contribute to a greener planet, constructing your own solar panel is a practical and educational project. This article will guide you through the process, from understanding the basic components to the final installation.
Understanding Solar Power Panels
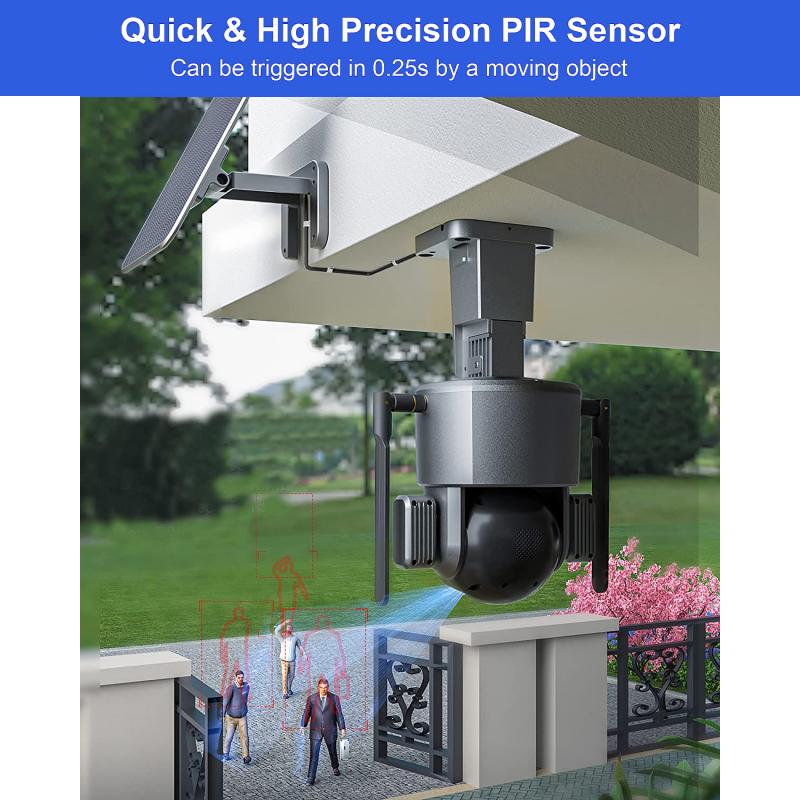
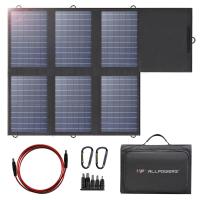
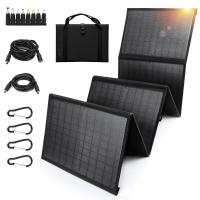
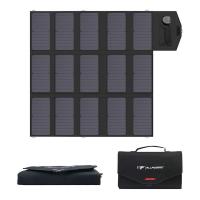
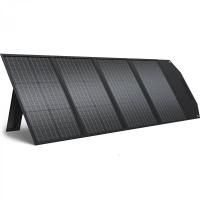
Before diving into the construction process, it's essential to understand what a solar power panel is and how it works. A solar panel, also known as a photovoltaic (PV) panel, converts sunlight into electricity using semiconductor materials. The key components of a solar panel include:
1. Solar Cells: These are the heart of the panel, typically made from silicon. They absorb sunlight and convert it into electrical energy.
2. Glass Cover: Protects the solar cells from environmental damage while allowing sunlight to pass through.
3. Encapsulation: A layer of protective material that surrounds the solar cells to prevent moisture and dirt from affecting their performance.
4. Backsheet: The rear layer of the panel that provides structural support and protection.
5. Frame: Usually made of aluminum, the frame holds the entire panel together and allows for easy mounting.
6. Junction Box: Contains the electrical connections and diodes to prevent reverse current flow.
Materials and Tools Needed

To build a solar power panel, you will need the following materials and tools:
- Solar cells
- Tabbing wire
- Bus wire
- Flux pen
- Soldering iron and solder
- EVA (ethylene-vinyl acetate) sheets
- Glass sheet
- Backsheet material
- Aluminum frame
- Junction box
- Silicone sealant
- Multimeter
- Wire cutters and strippers
- Screwdriver
- Safety gear (gloves, goggles)
Step-by-Step Guide to Building a Solar Power Panel
Step 1: Designing the Panel
The first step is to design your solar panel based on your energy needs. Calculate the total wattage you require and determine the number of solar cells needed. Each cell typically produces about 0.5 volts, so for a 12-volt panel, you will need 24 cells connected in series.
Step 2: Preparing the Solar Cells
Lay out the solar cells on a flat surface and inspect them for any damage. Use a flux pen to apply flux to the bus bars on each cell. This will help the solder adhere better.
Step 3: Soldering the Cells
Cut the tabbing wire into appropriate lengths and solder them to the bus bars of each cell. Connect the cells in series by soldering the tabbing wire from the positive side of one cell to the negative side of the next. This creates a string of cells that will produce the desired voltage.
Step 4: Assembling the Panel
Place the first string of cells onto the EVA sheet, ensuring they are evenly spaced. Cover the cells with another layer of EVA and then place the glass sheet on top. This sandwich of materials will protect the cells and allow sunlight to pass through.
Step 5: Sealing the Panel
Use silicone sealant to seal the edges of the glass sheet to the backsheet material. This will prevent moisture from entering the panel. Attach the aluminum frame around the edges for added protection and structural support.
Step 6: Installing the Junction Box
Attach the junction box to the back of the panel. This box will house the electrical connections and diodes. Connect the positive and negative wires from the solar cell strings to the terminals in the junction box.
Step 7: Testing the Panel
Before final installation, test the panel using a multimeter to ensure it produces the expected voltage and current. Place the panel in direct sunlight and measure the output. If the readings are lower than expected, check for any loose connections or damaged cells.
Step 8: Mounting the Panel
Once you have confirmed that the panel is working correctly, mount it in a location that receives maximum sunlight throughout the day. Use appropriate mounting hardware to secure the panel to a roof, pole, or ground mount.
Practical Considerations
Efficiency and Performance
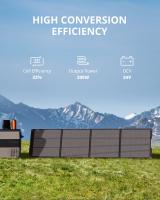
The efficiency of your homemade solar panel will depend on the quality of the materials used and the precision of your construction. Commercial panels typically have an efficiency of 15-20%, while DIY panels may have slightly lower efficiency. However, with careful planning and execution, you can still achieve a functional and cost-effective solar power solution.
Safety Precautions
Working with electrical components and tools can be hazardous. Always wear safety gear, such as gloves and goggles, and work in a well-ventilated area. Be cautious when soldering and handling sharp objects.
Maintenance
Regular maintenance is essential to ensure the longevity and performance of your solar panel. Clean the glass surface periodically to remove dust and debris. Inspect the panel for any signs of damage or wear and repair as needed.
Building your own solar power panel is a fulfilling project that can provide long-term benefits. By following the steps outlined in this guide, you can create a functional solar panel that meets your energy needs. Not only will you gain a deeper understanding of renewable energy, but you'll also contribute to a more sustainable future. Whether you're a DIY enthusiast or someone looking to reduce their carbon footprint, constructing a solar power panel is a worthwhile endeavor.

